Makin’ Bacon – Round 1
 Making your own bacon can seem intimidating, but I assure you that you don’t need any professional skills to produce authentic, smokey bacon. I must warn you though- once you do this, there’s no going back. Store bought bacon will pale in comparison to the hearty strips of awesome that is your homemade bacon; you’ll yearn for that smokey aroma to fill your kitchen again. The satisfaction you once derived from tossing pre-packaged pig strips into your grocery cart will be gone and that void can only be filled with more of your exquisite homemade bacon! Ok, I’m getting carried away…but if you like bacon, making your own can be fun and rewarding. Let’s get started…
The first order of business when it comes to making your own bacon is obtaining your meat. I had a slab of pork belly leftover from making Porchetta that I knew I was going to use for making bacon. Most butcher shops will carry pork belly or should be able to order it for you. You can also order pork belly online and have it shipped to you.  Pork belly is exactly what it sounds like- the belly of a pig. If you’re lucky and get to select your piece of belly, the ideal ratios of meat to fat are about 1:1 (this can be found towards the back end of the belly closest to the loin). You’ll also want to specify how much you want and indicate that you will be making bacon with it (pork belly is used for many things and sometimes it can be cut into pieces that are not ideal for making bacon). Whole bellies can range from eight to fifteen pounds depending on the size of the pig, so you’ll probably want somewhere from three to six pounds (or get eight to fifteen pounds, don’t let me tell you how much bacon to make).
Step Two: Curing.
Curing your bacon can be done two ways: with a wet cure (brine) or a dry cure (applying salt directly to the meat and allowing it to sit for a period of time). Most of the methods for curing bacon you’ll come across call for a dry cure. We opted to go the wet curing route this time; sometimes dry curing can result in a really salty product and we didn’t want to take that chance. This amount of brine is good for three to six pounds of meat:
- 2 quarts water, divided
- 5 ounces (about 1/2 cup) pickling salt
- 2 T packed brown sugar
- 2 T maple syrup
- 1 1/2 ounces pink salt
In a three to four quart non-reactive sauce pan add one quart of water. Add all ingredients except the pink salt. Bring to a boil and simmer; stirring constantly until all the salt and sugar is dissolved. Add one quart of ice water and allow to cool down to under 40° F (speed this up further by placing in the freezer of refrigerator). After mixture has cooled, add the pink salt, and stir until it is fully dissolved.
Submerge your pork belly in the brine in a plastic container (any non-metallic container will work) or a large ziploc bag depending on how much meat you are working with (make sure the mixture is cooled to below 40°F, otherwise the brine will start to cook the meat).
When it comes to how long to wet cure your pork belly, I’ve seen recommendations vary from ten days to twenty days. We cured ours for about two weeks (if you intend to cold smoke, plan on curing your belly for at least ten days to be on the safe side- see the important note below). Leave the meat to cure in a temperature between 36°F and 40°F (a refrigerator is ideal for this).
When you take the belly out of the brine you’ll want to wash it off, and leave it to dry in a cool area (below 40°F but not freezing) for several hours or overnight. The meat should form what is known as a ‘pellicle.’ The pellicle is a result of the cure pulling water soluble proteins up to the surface of the meat. When these proteins dry, they form a shiny, sticky coating over the meat, which will absorb the smoke much better. The meat will not take smoke until the surface is dry. If the meat is smoked when still damp, it will be smudgy, not rich in color, and lack that smokey flavor we’re after.
Step three: Smoking
At this point you can do several things: you could pop that sucker in the oven at 200°F for about 2 hours (an internal temp of 150°F is what you’re after), and you’ll end up with decent homemade bacon. This is the easiest and quickest way, but what you’ll be lacking is a smokey flavor and aroma. Just like curing, there are two methods of smoking: hot smoking and cold smoking. Hot smoking is a way of cooking the meat via hot smoke. Hot smoking kills two birds with one stone: the hot smoke cooks the meat while also imparting a smoky flavor. Cold smoking involves immersing the meat in smoke that is between 70°F and 90°F for several hours (and sometimes days). Cold smoking does not cook the meat, thus allowing the meat to spend more time absorbing the smoke which adds a greater depth of flavor. We chose to cold smoke the bacon and for that we needed to construct a cold-smoker.

*Important note: If you are with us so far and choose to cold smoke your bacon (or any item you wish to cold smoke) the use of pink salt in your cure is extremely important. The most important function of the pink salt is to kill the bacteria responsible for botulism. The spores that produce the nerve toxin botulism thrive in a cold smoking environment (low oxygen and low temps over a long period of time). Botulism is deadly; pink salt is cheap.
Ok, this is where some ingenuity and a little bit of hard work enter the picture. Or some cash; most commercial cold smokers run into the thousands of dollars. There is a home smoker on the market called the Bradley Smoker which you can use for hot and cold smoking purposes that’ll run you about $300-$400. I’ve read mixed reviews, and, once you understand the concept of how smoking works, building your own cold smoker is not too difficult.
I won’t go through what we did step-by-step, but I’ll give a brief overview. You don’t have to use the same equipment we did; like I said: once you understand how it works you can jerry-rig your own with what you have available.
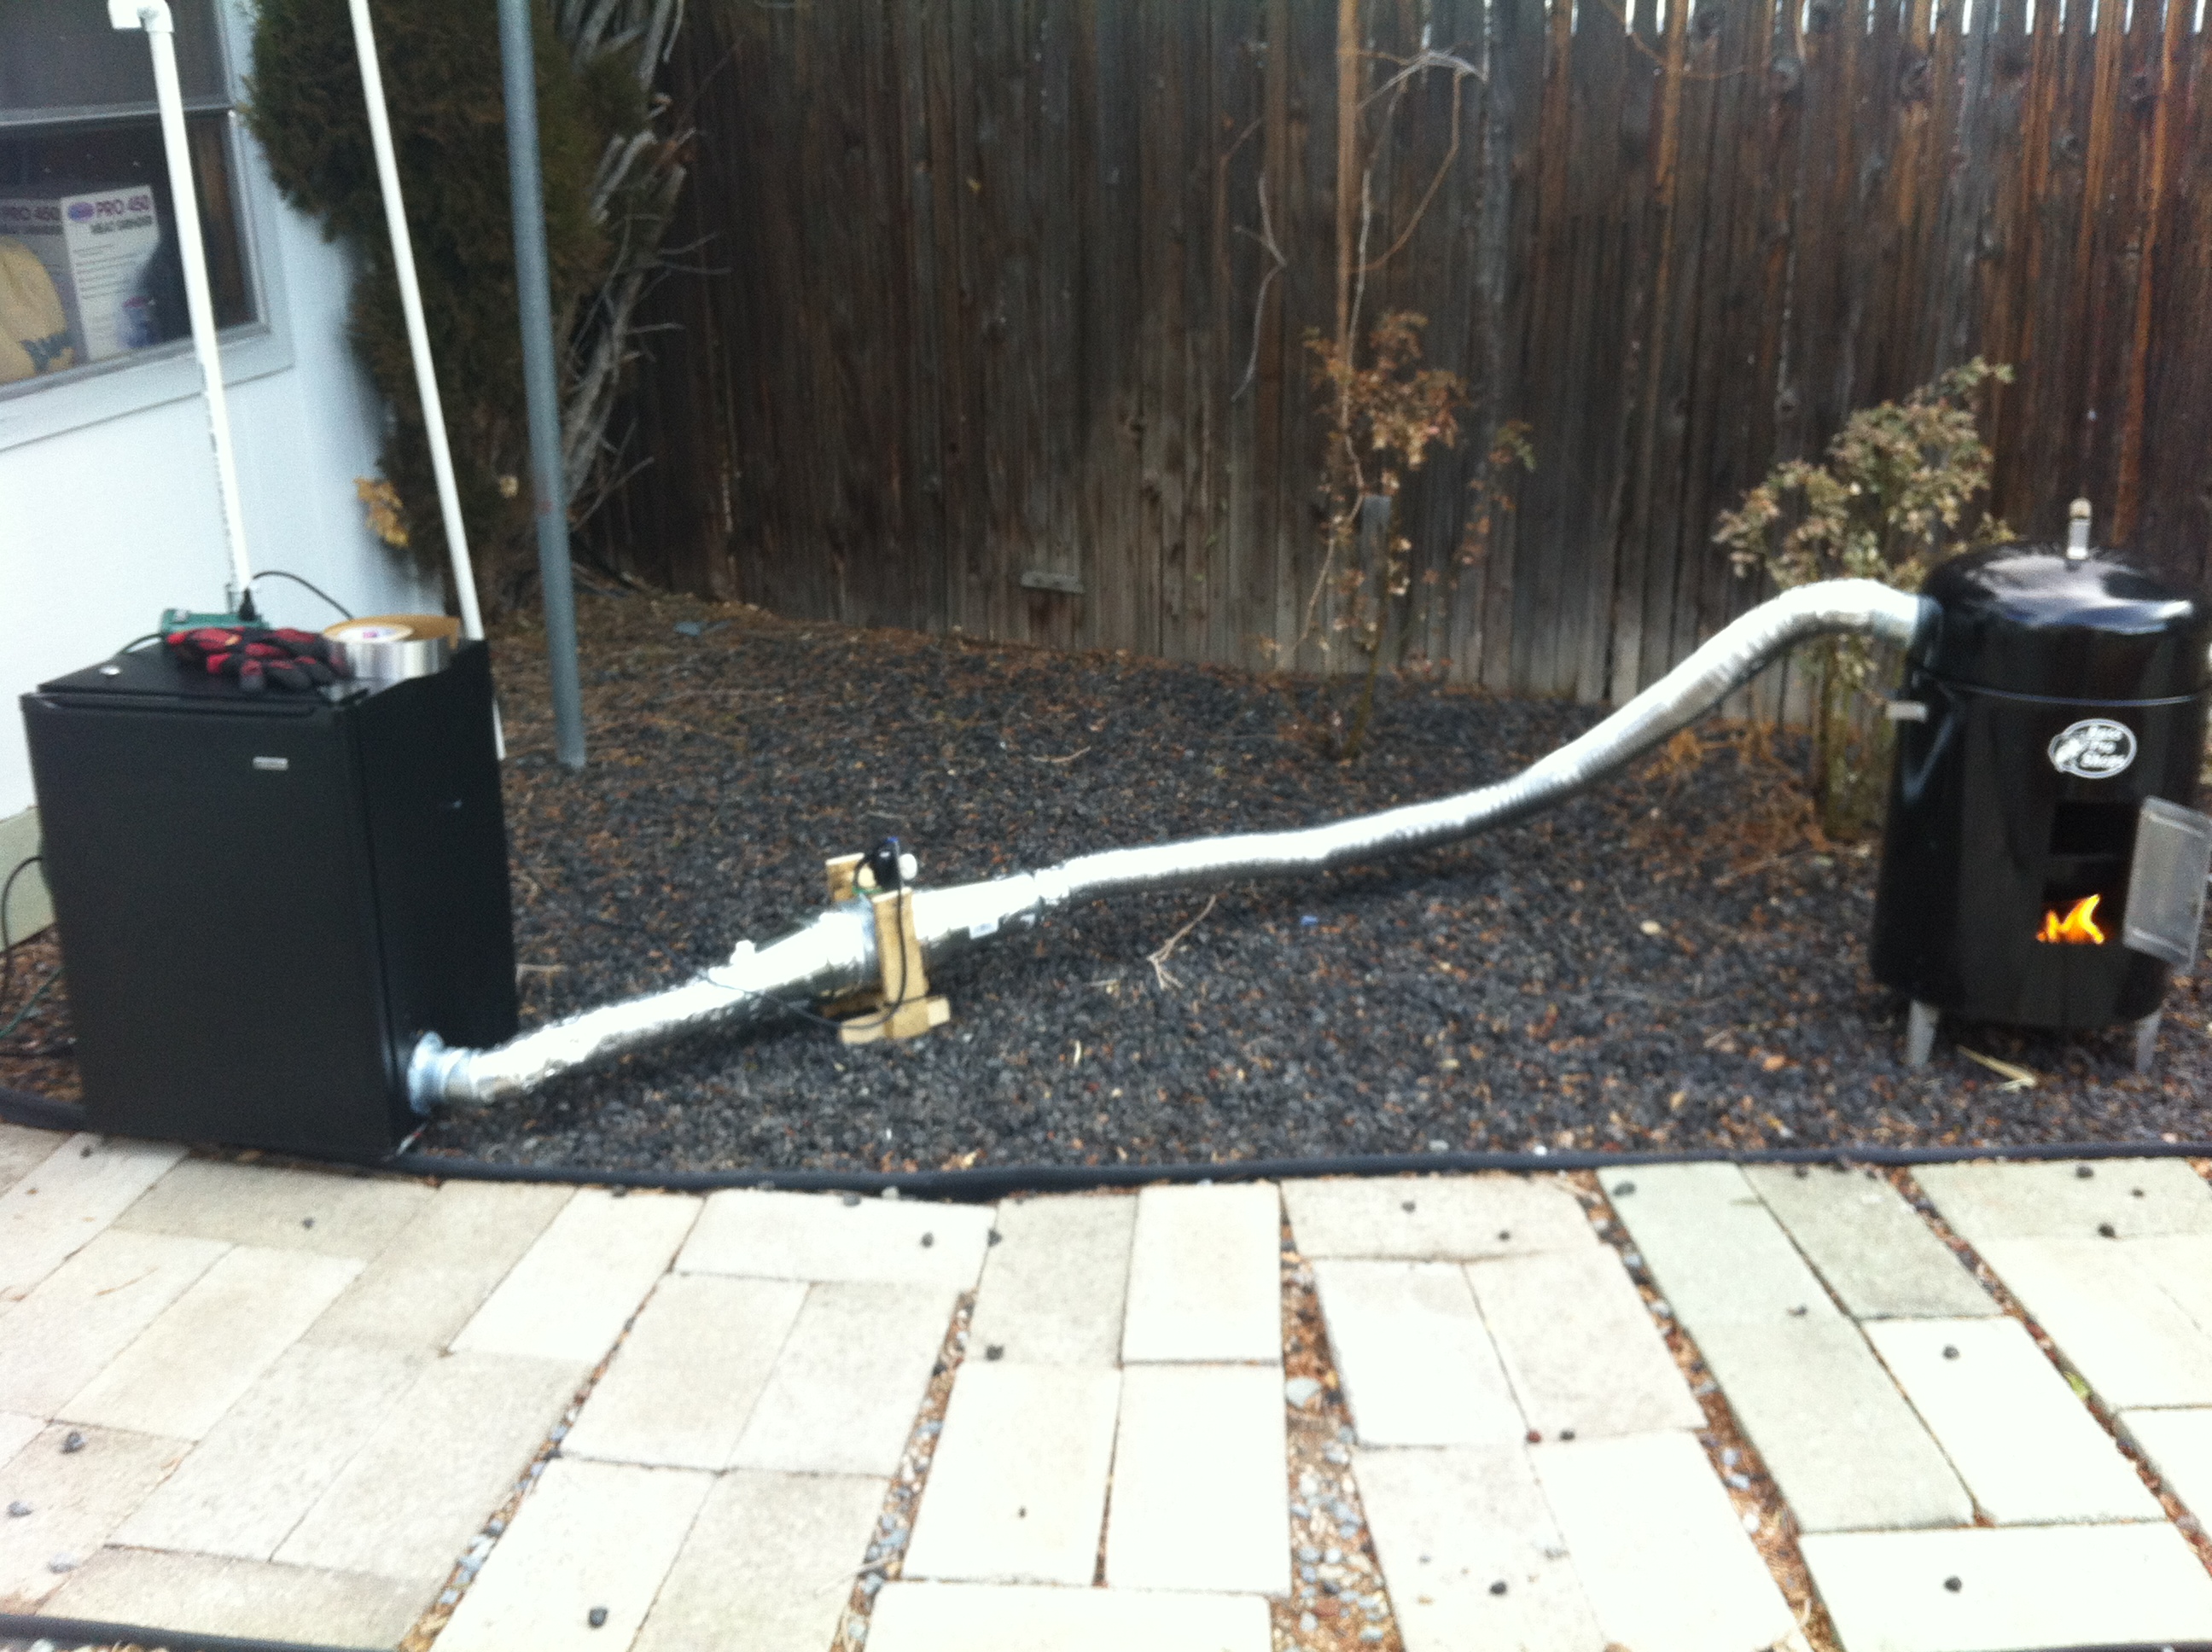
You’ll first need a chamber that will generate the hot smoke. We used an actual hot smoker that we bought off craigslist for $45. You can use a regular bar-b-que, a metal trash can, or dig a fire pit in the ground (just some options). You’ll then need some type of solid box which will be your cold smoking box (where the meat will be). For our cold smoking box we used a mini-fridge that we had sitting around the house. An old refrigerator is a good choice becuase it has shelves and is easy to clean. Finally, you’ll need a metal funnel or pipe to connect the hot smoking chamber to the cold-smoke box. The longer the funnel, the more time the heat from the hot smoker has to cool down before it reaches the cold smoking box.
 Drilled holes in the lid for venting
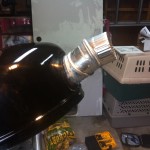 Elbow adapter for the funnel
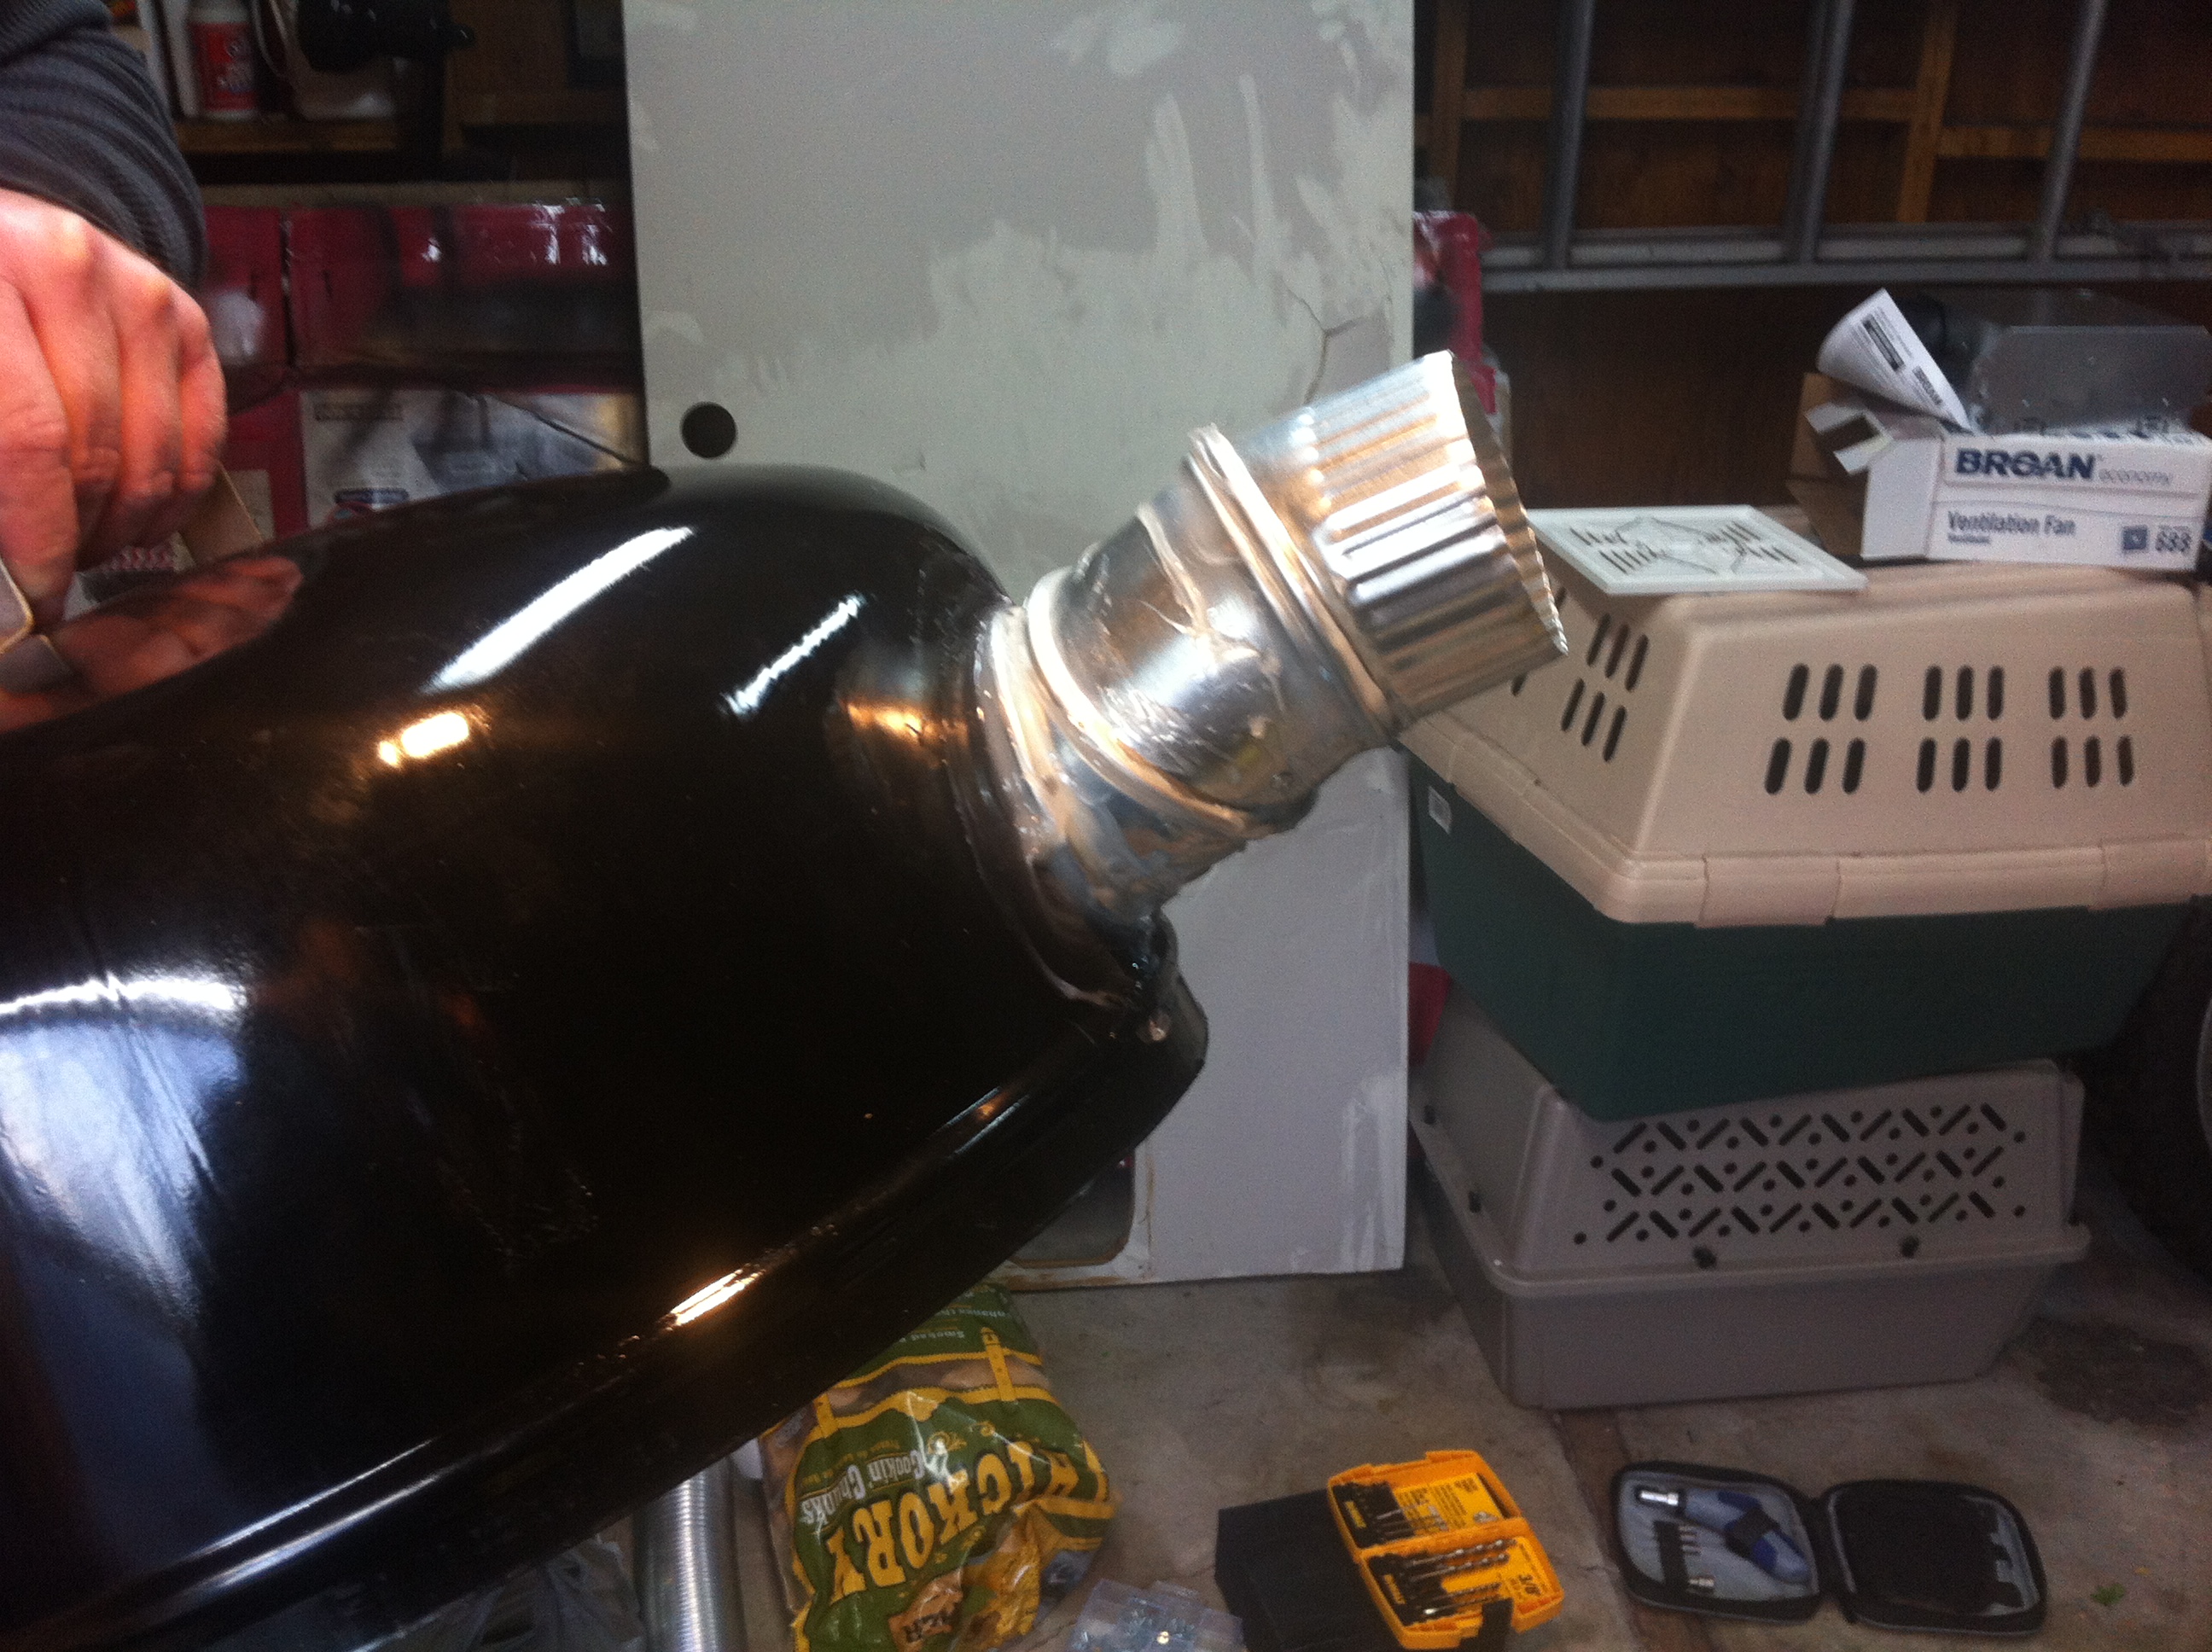
 Same thing on the side of the mini-fridge

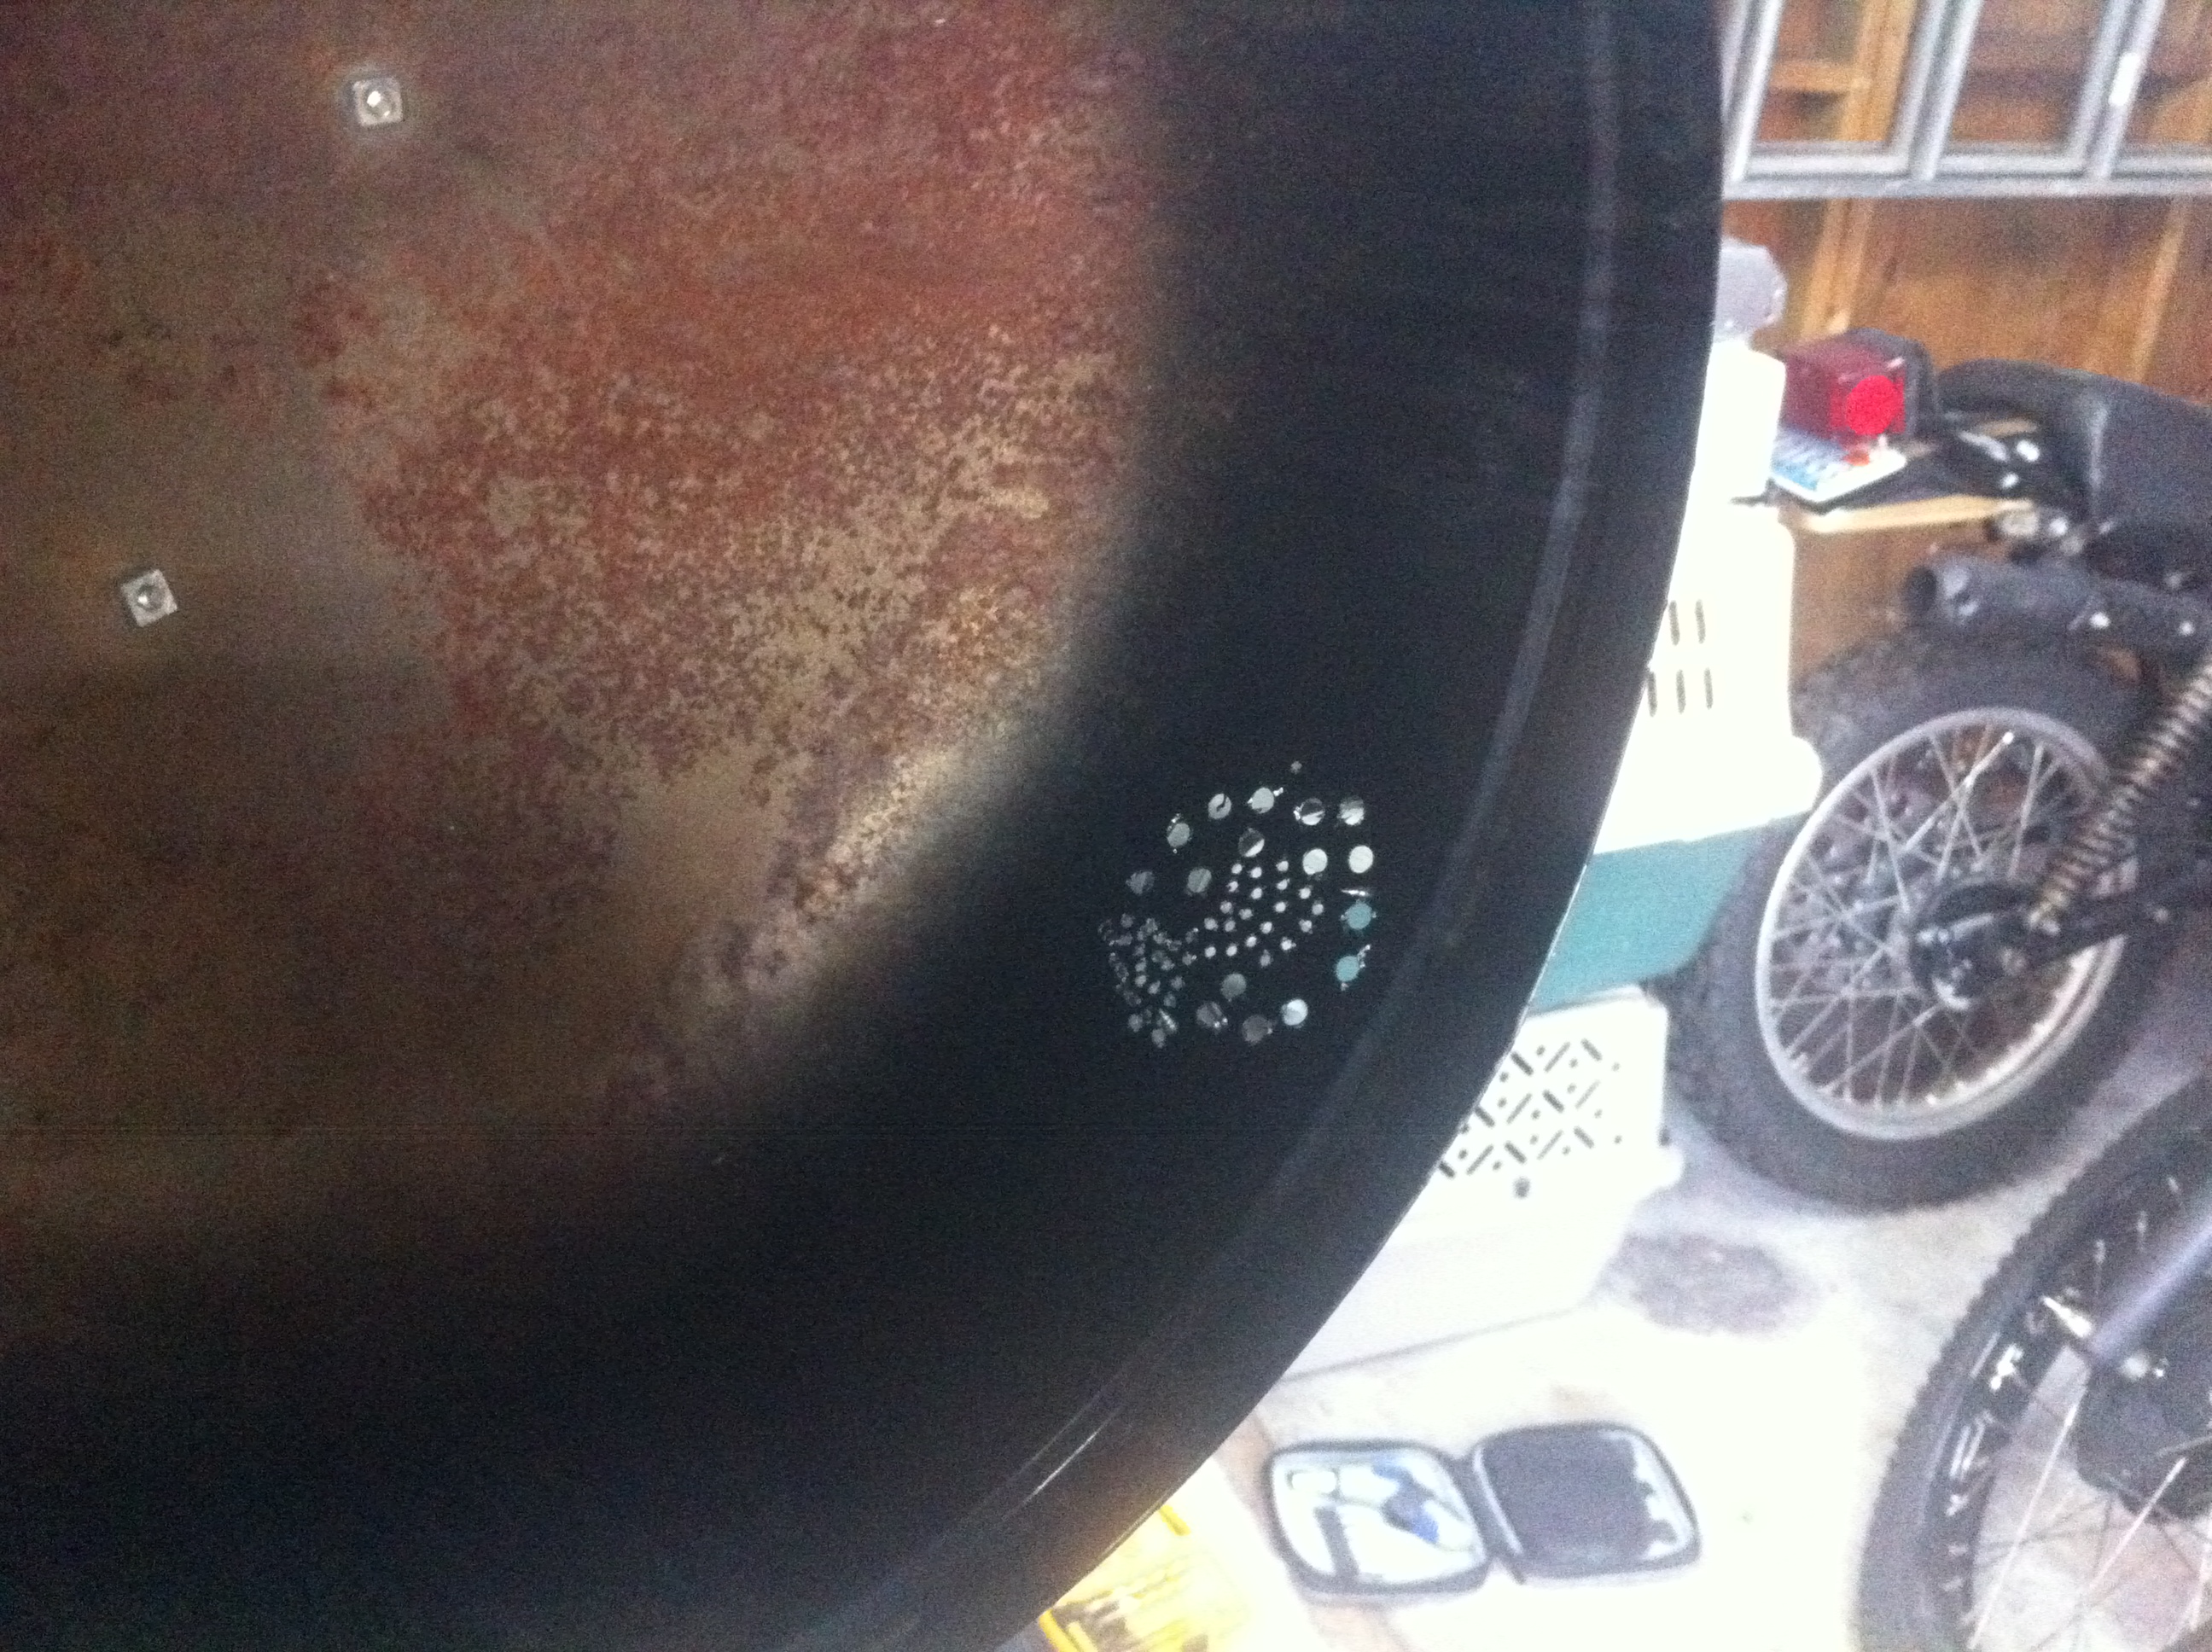
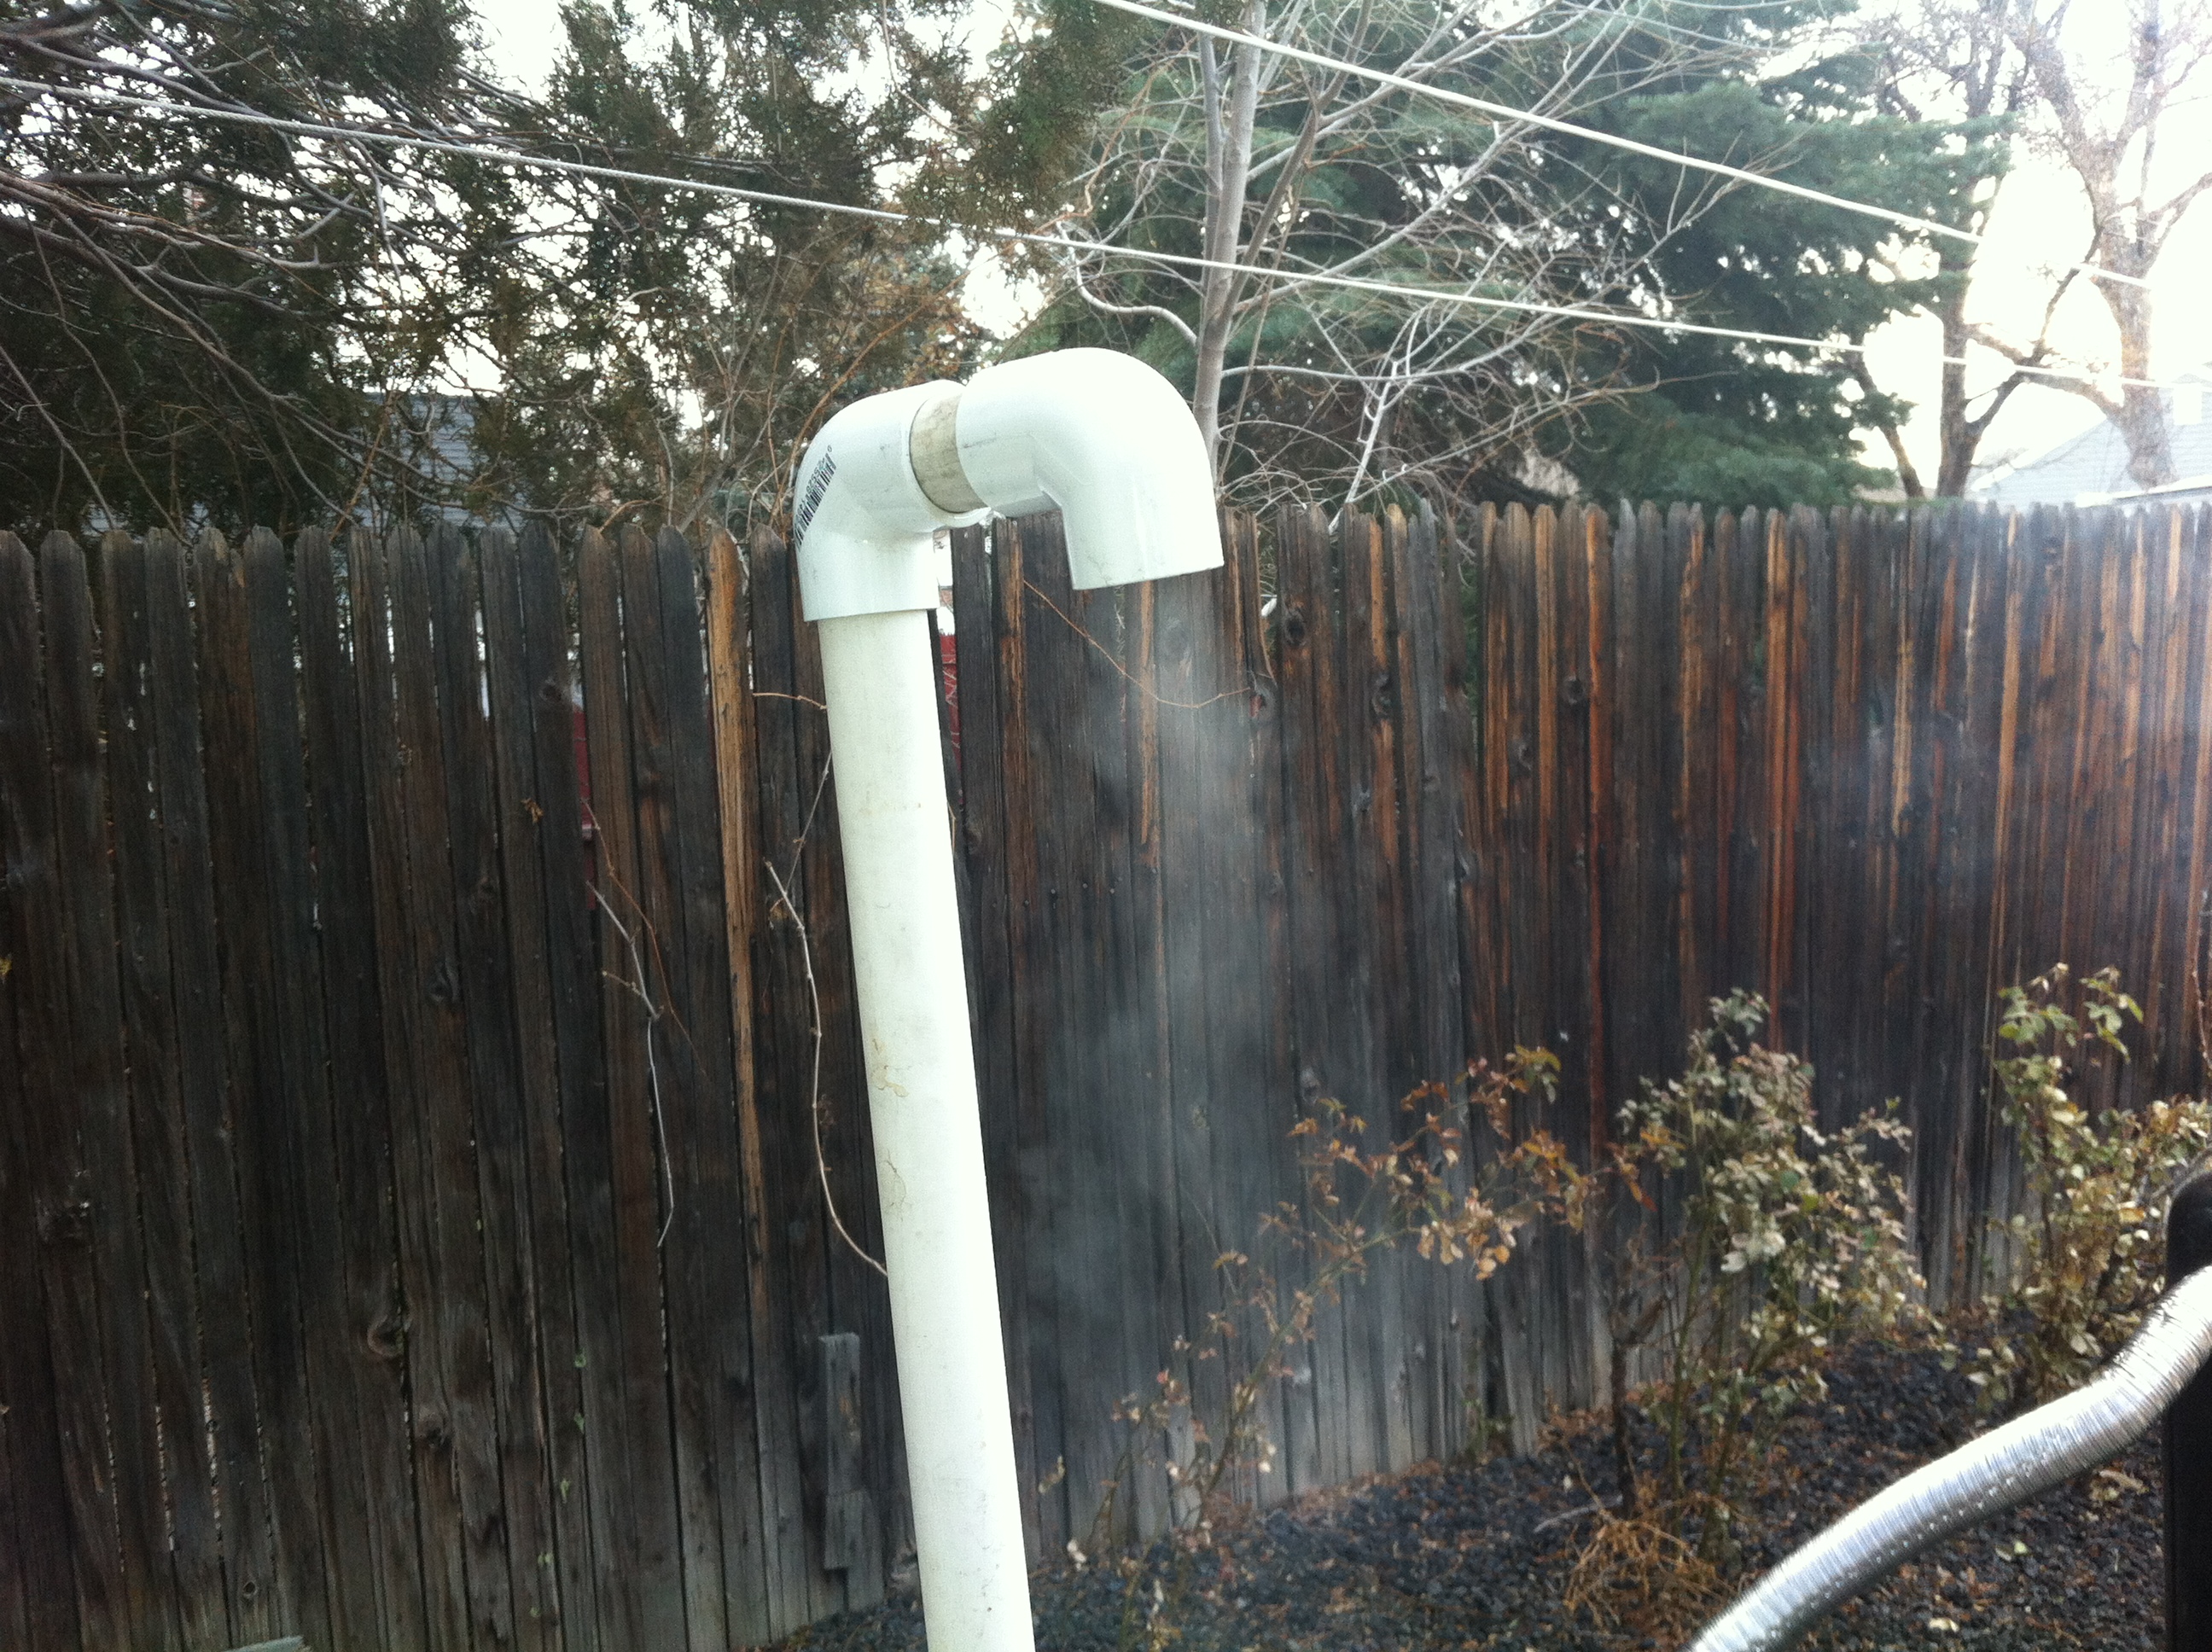
 Attached a pipe on top of the mini-fridge to allow the smoke to vent…
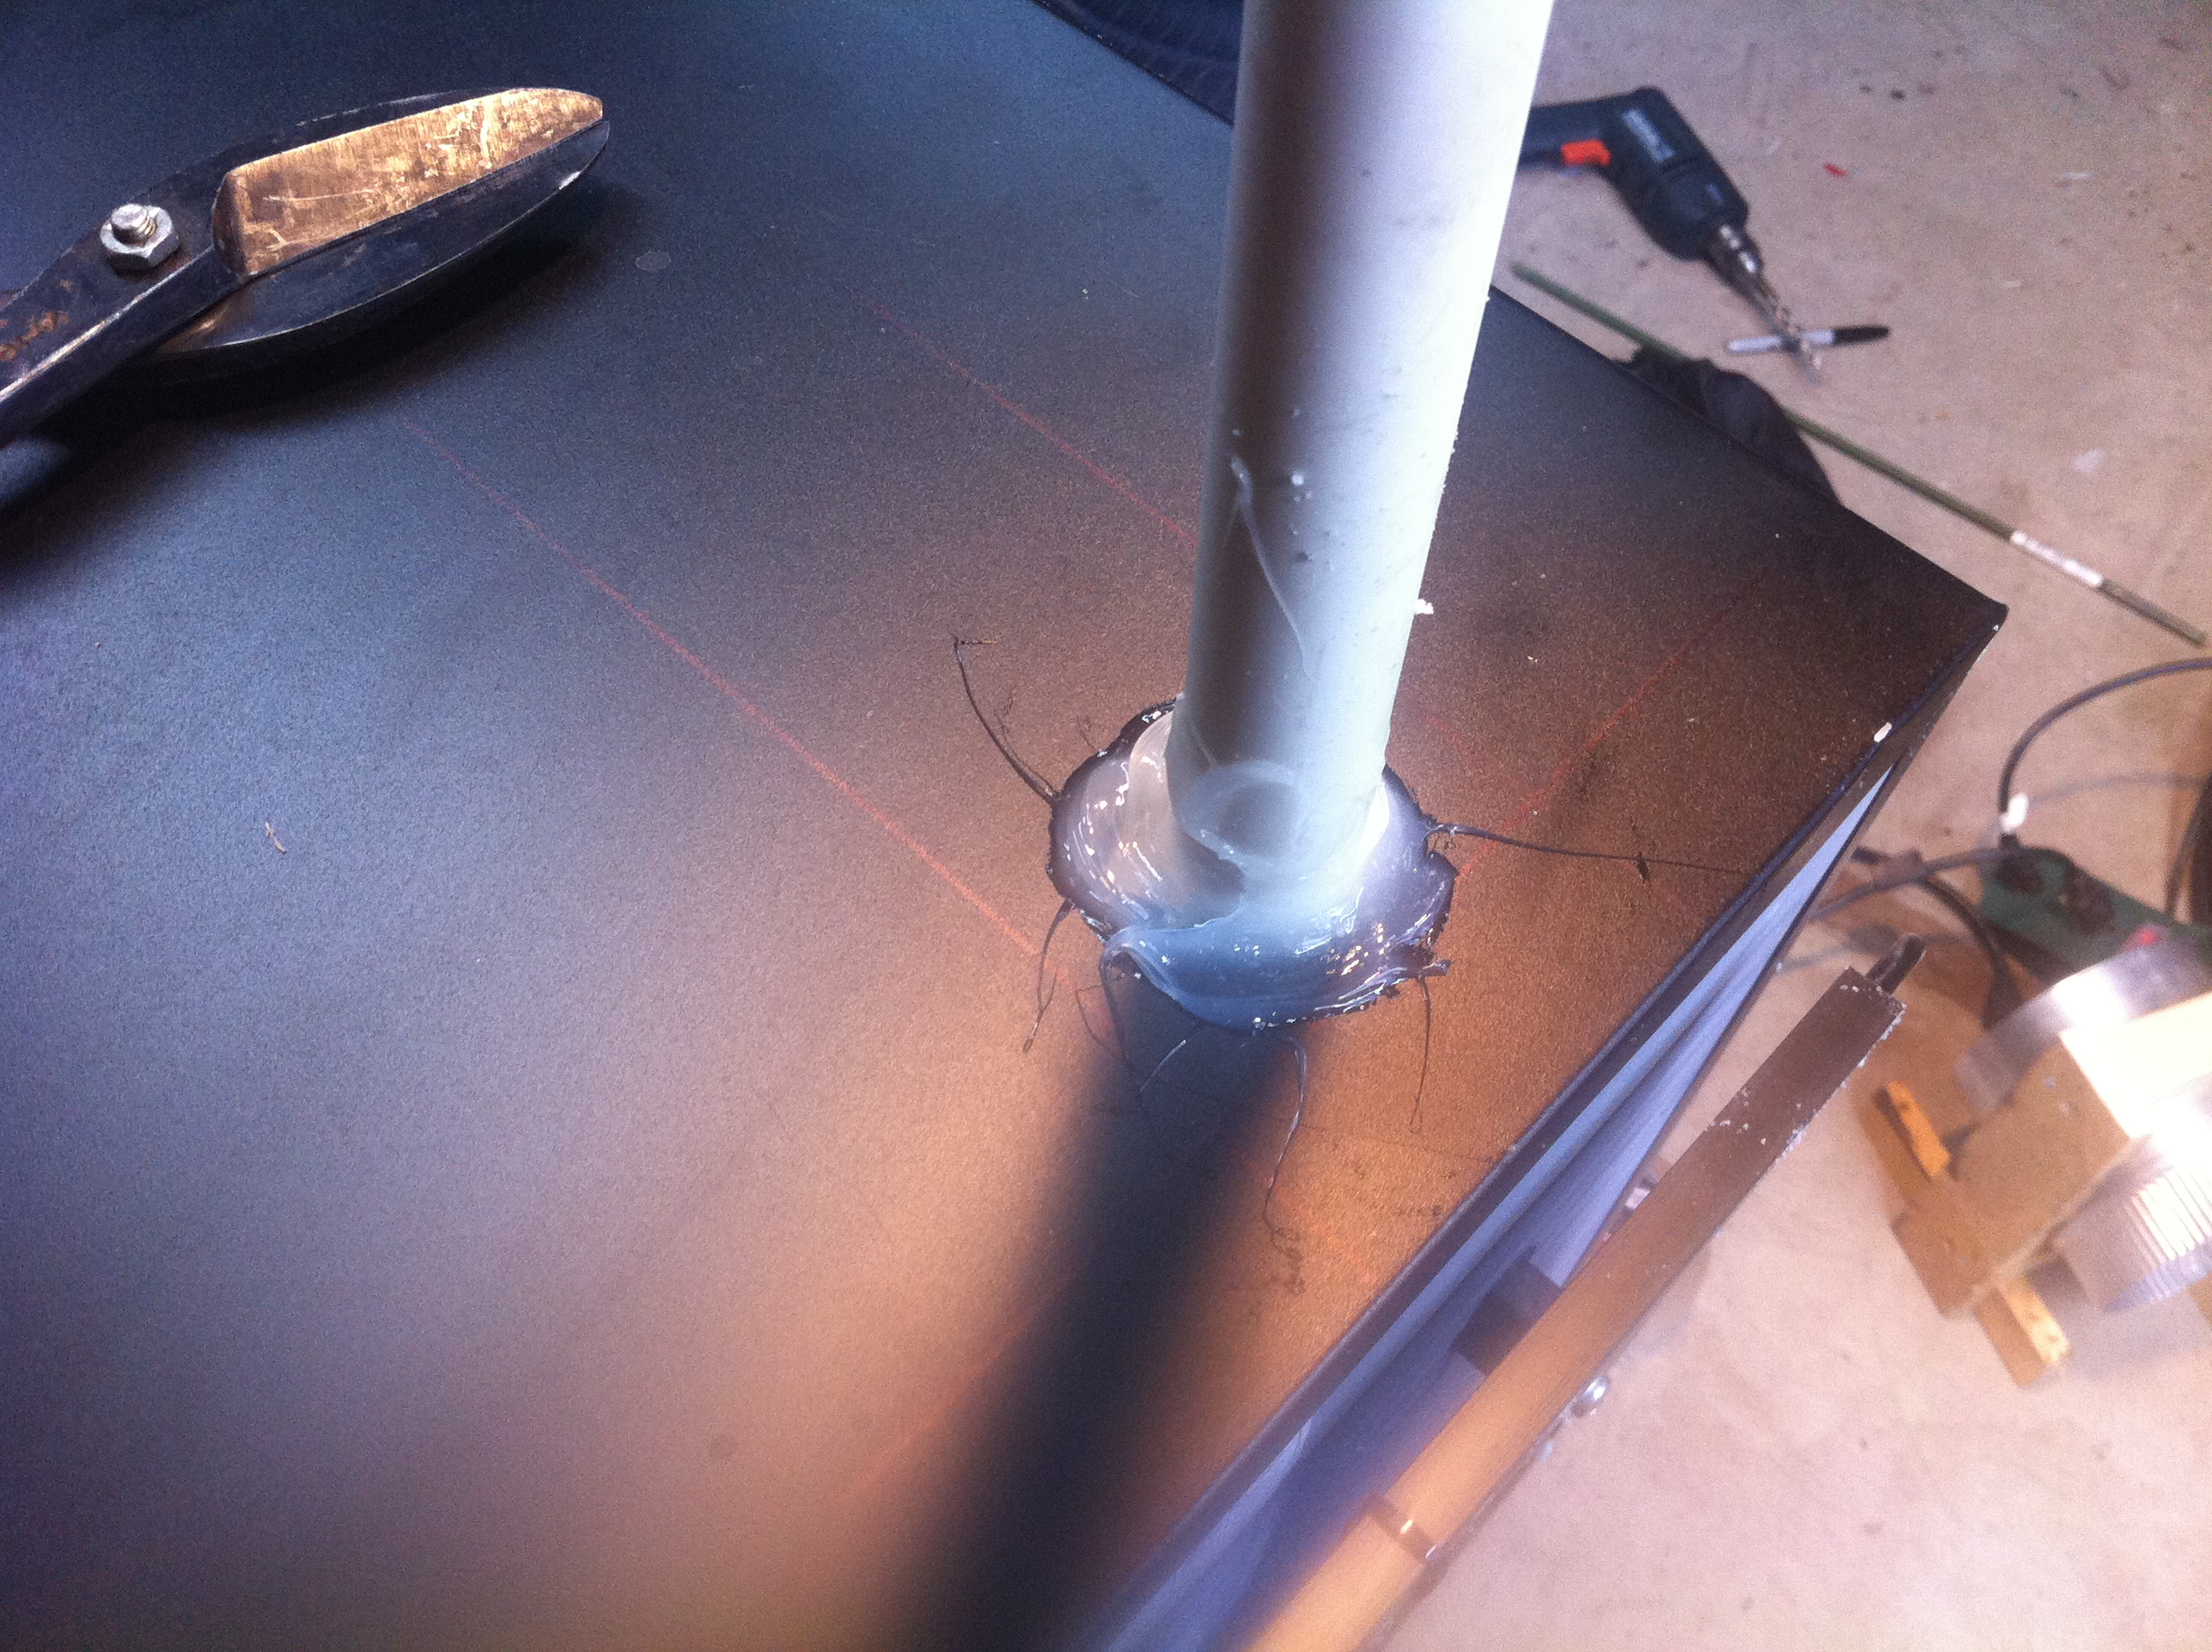
 …like this
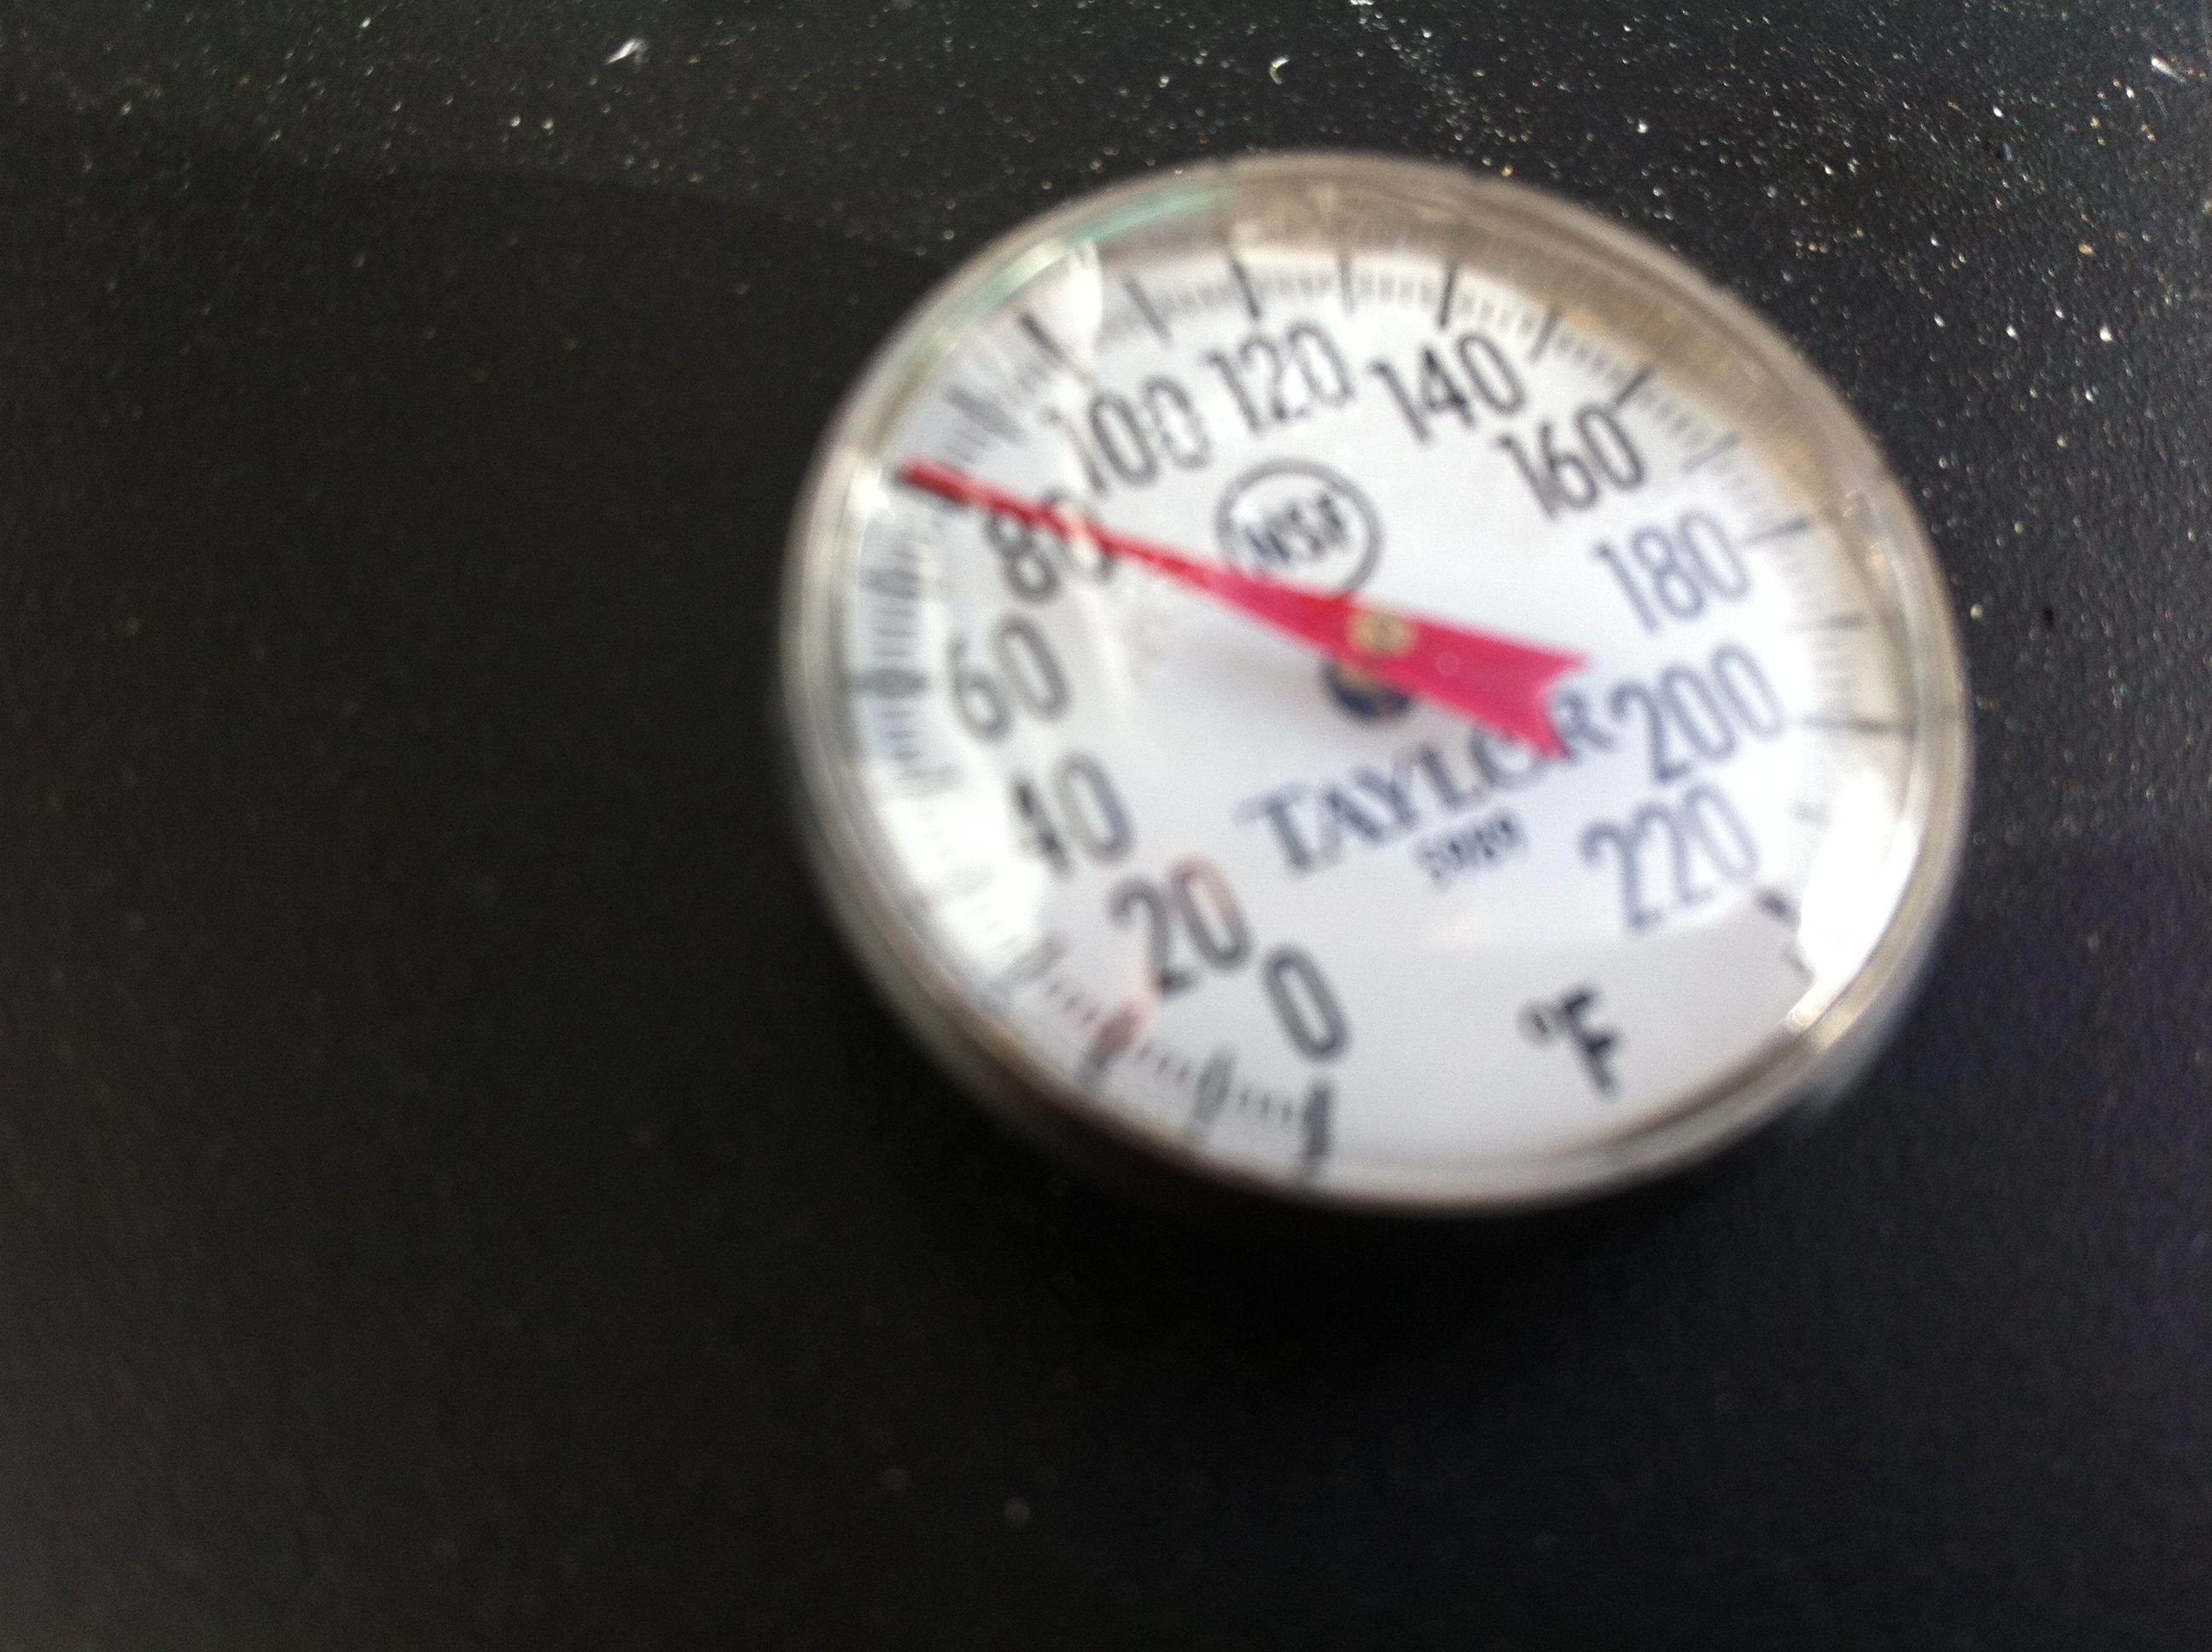
 Temperature guage on cold-smoke box
Here are some pictures from the process of building the cold-smoker. In the final picture you can see there is a wooden structure close to the cold-smoke box (mini-fridge). This is where we placed an in-line duct fan; the purpose of the fan is to draw air from the hot smoking side and help it flow into the cold smoke-box. The fan will also pressurize the smoke in the cold-smoke box.
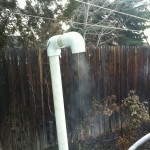
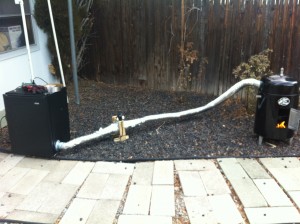 The finished product
Alright, back to making bacon. Now you’ll need to chop down a hickory tree and get your hickory wood pieces… or you can buy hickory wood chips from Lowes Hardware Store and tell everyone you chopped down a tree. It doesn’t need to be hickory wood, you can use applewood, cherrywood, mesquite, oak, or any dried hardwood. You want to avoid wood that has a lot of sap, like pine or spruce. Almost any bar-b-que shop will sell wood chunks that are ideal for smoking meat.
I haven’t mentioned this yet, but cold smoking takes time. Pick a day when you know you’re just gonna be hanging around the house to cold smoke. Once you get your fire going you’ll need to tend to it every thirty minutes to an hour, for several hours. You can cold smoke for less time (two to three hours), but the longer you cold smoke your meat the more intense of a smokey flavor you’ll get. This is the part that can be tricky, as you’ll need to make sure the smoke in your cold smoking box stays below 100°F, and, ideally, above 70°F.
 Ready to be smoked
 Got a fire going
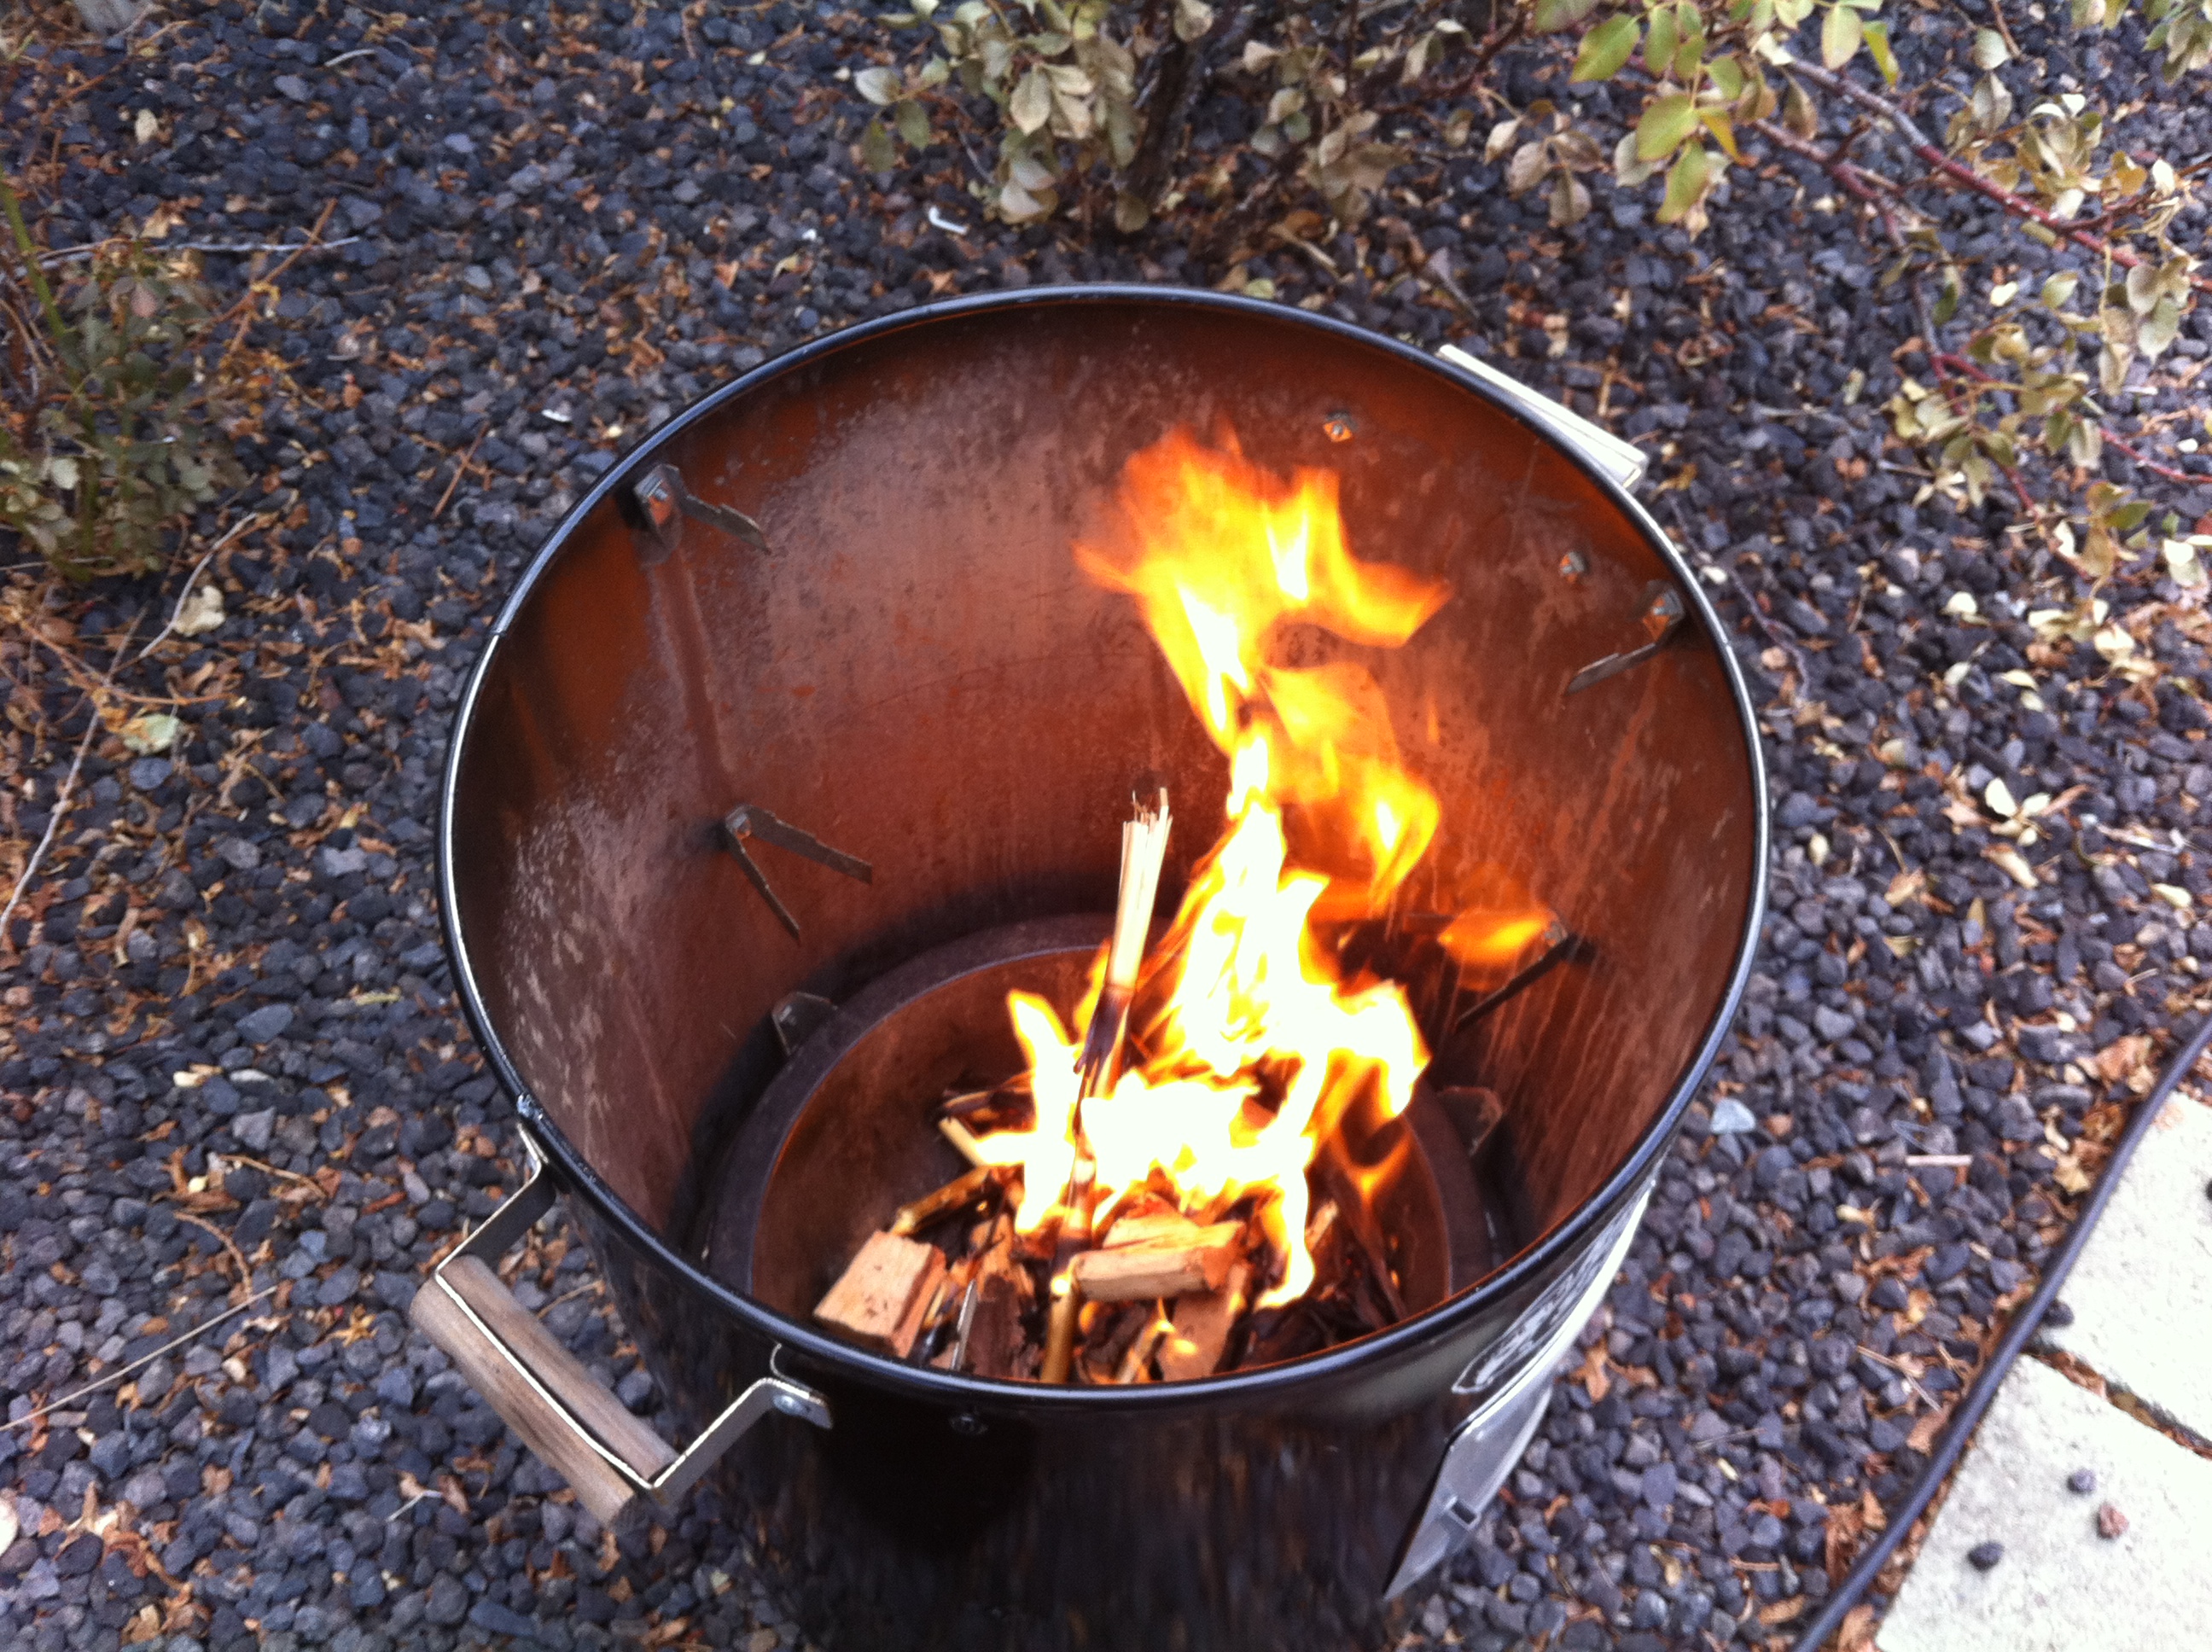
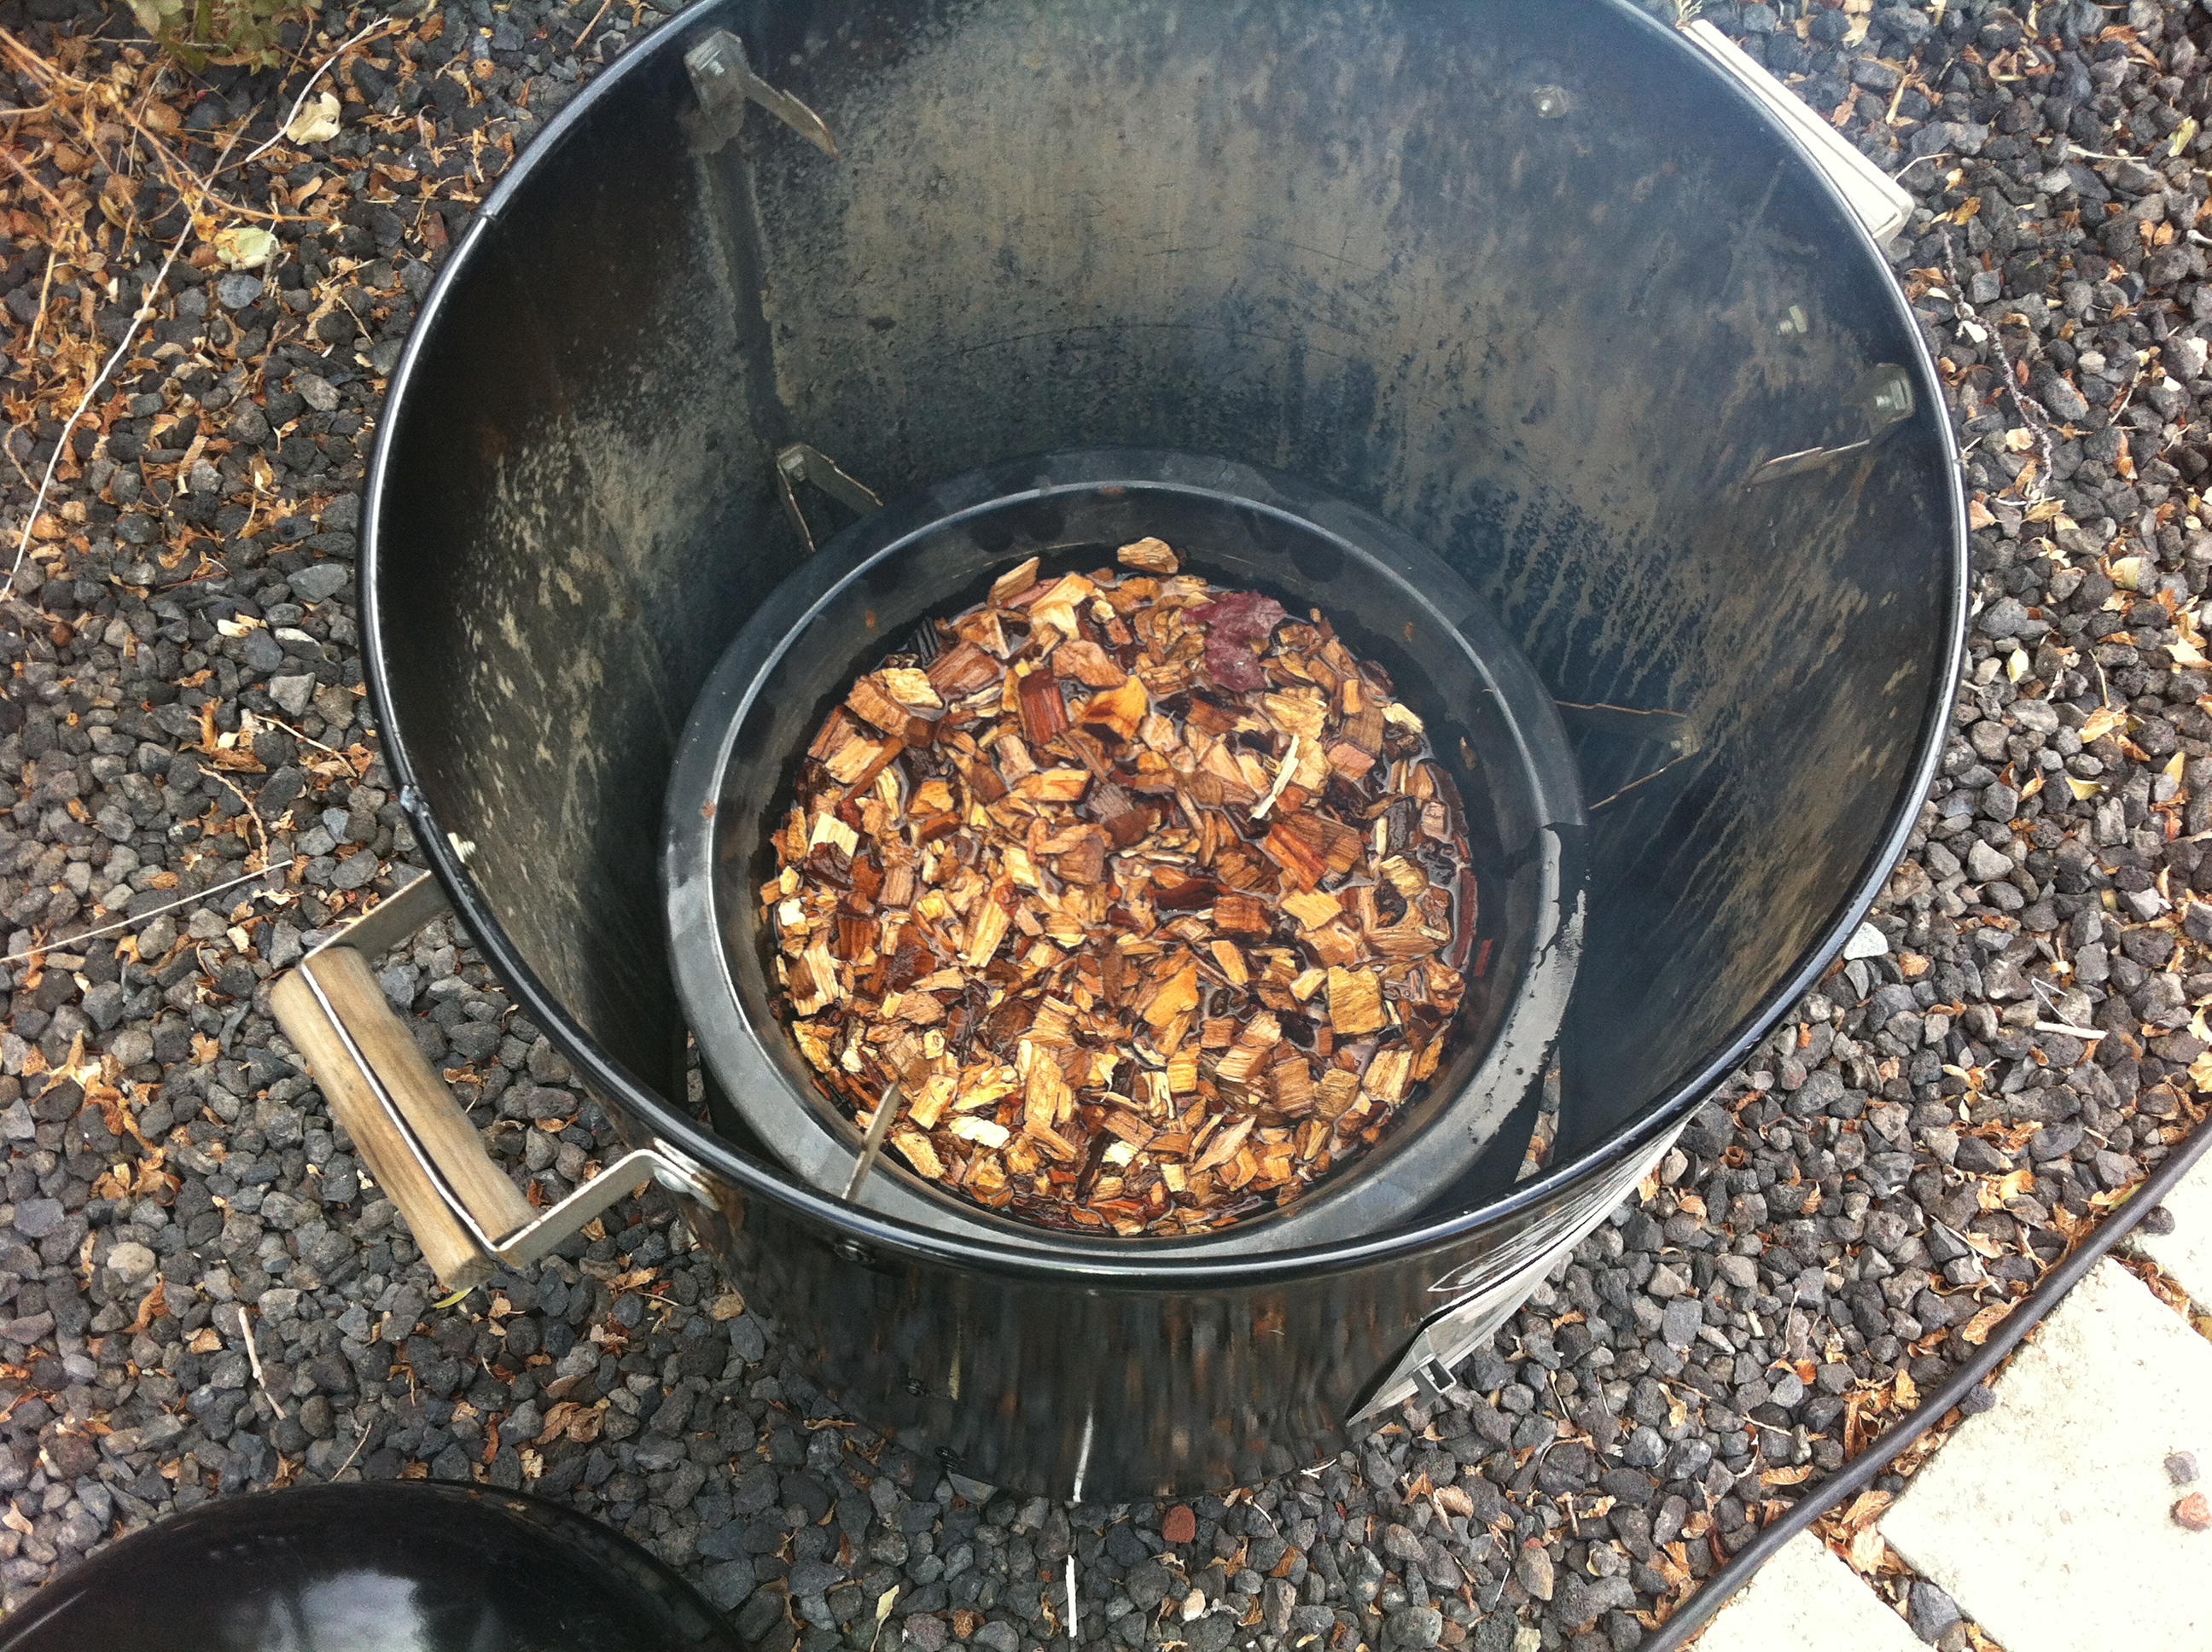
 Wood chips above fire
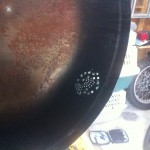
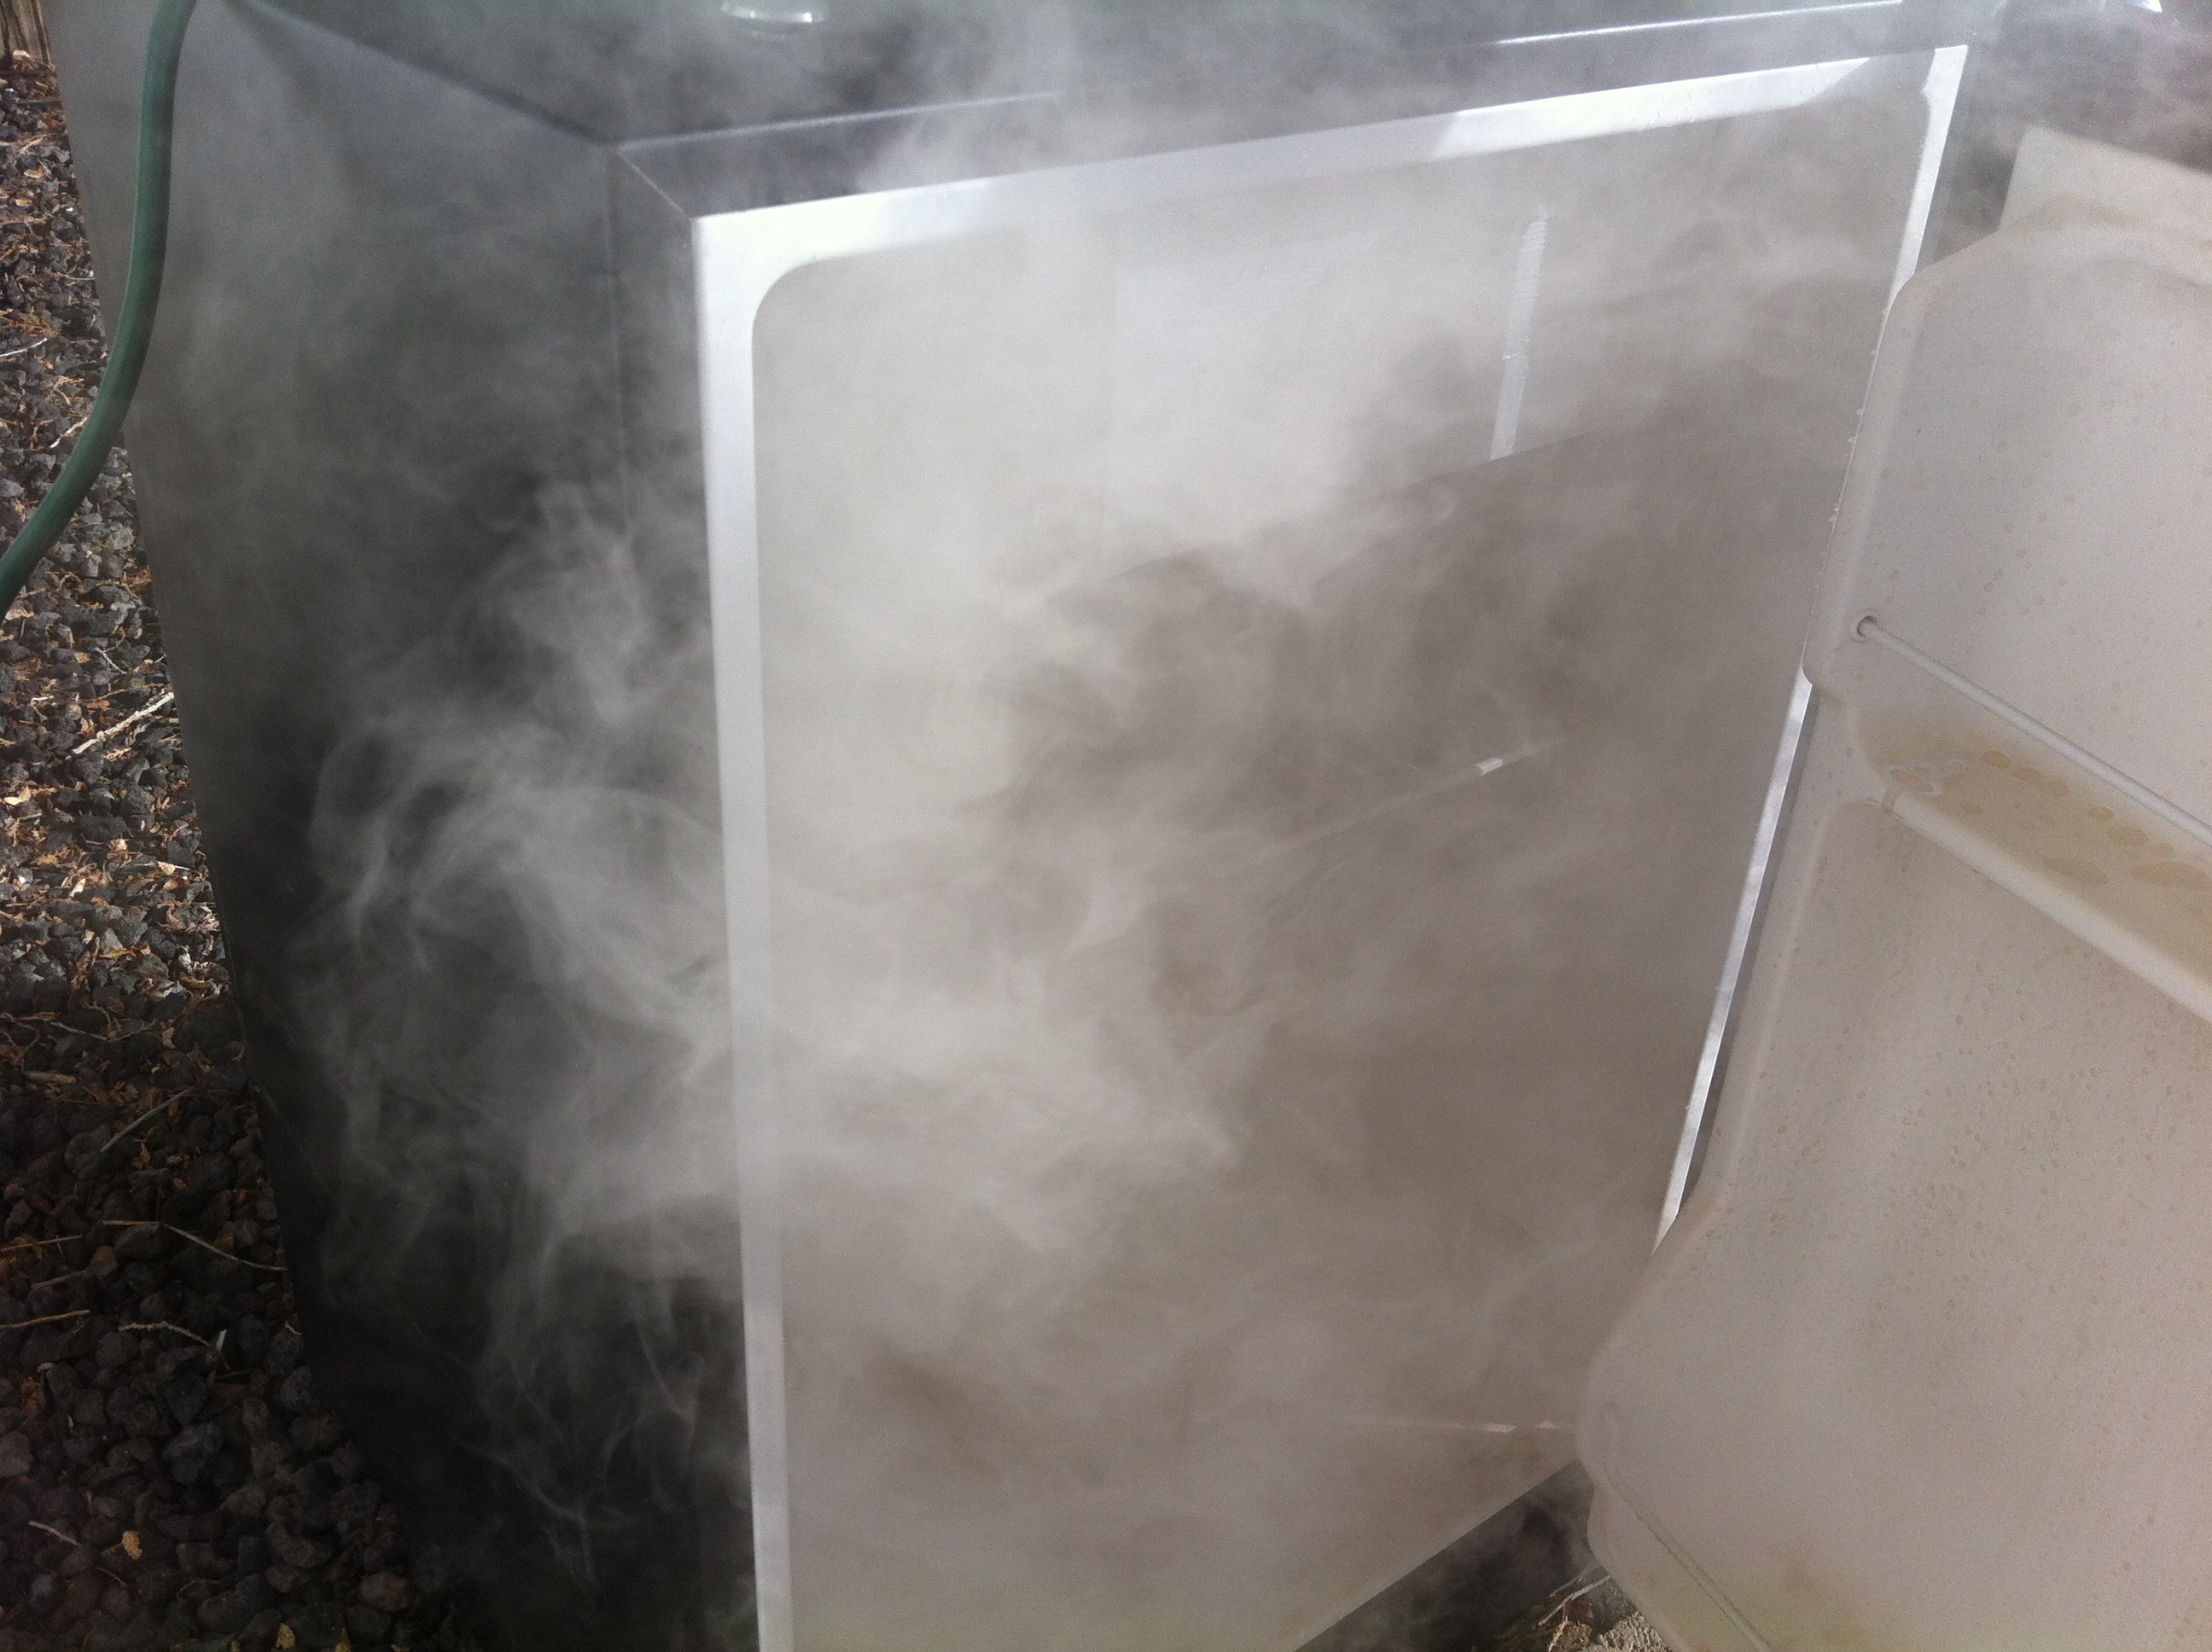
 It works!
We ended up keeping the bacon in the cold smoker for about six hours. We had planned on smoking the bacon longer, but we ran out of kerosene (and keeping a fire going without it is a pain in the ass). One thing we did that we won’t do next time, was soaking the wood chips. I think this created steam and there was a lot of moisture accumulating on the meat, which is not what should happen; the meat should be dry. So, after six hours we shut down the operation and needed to dry the meat. We finished the bacon off in the oven with the method I described earlier: 200°F for about two hours.
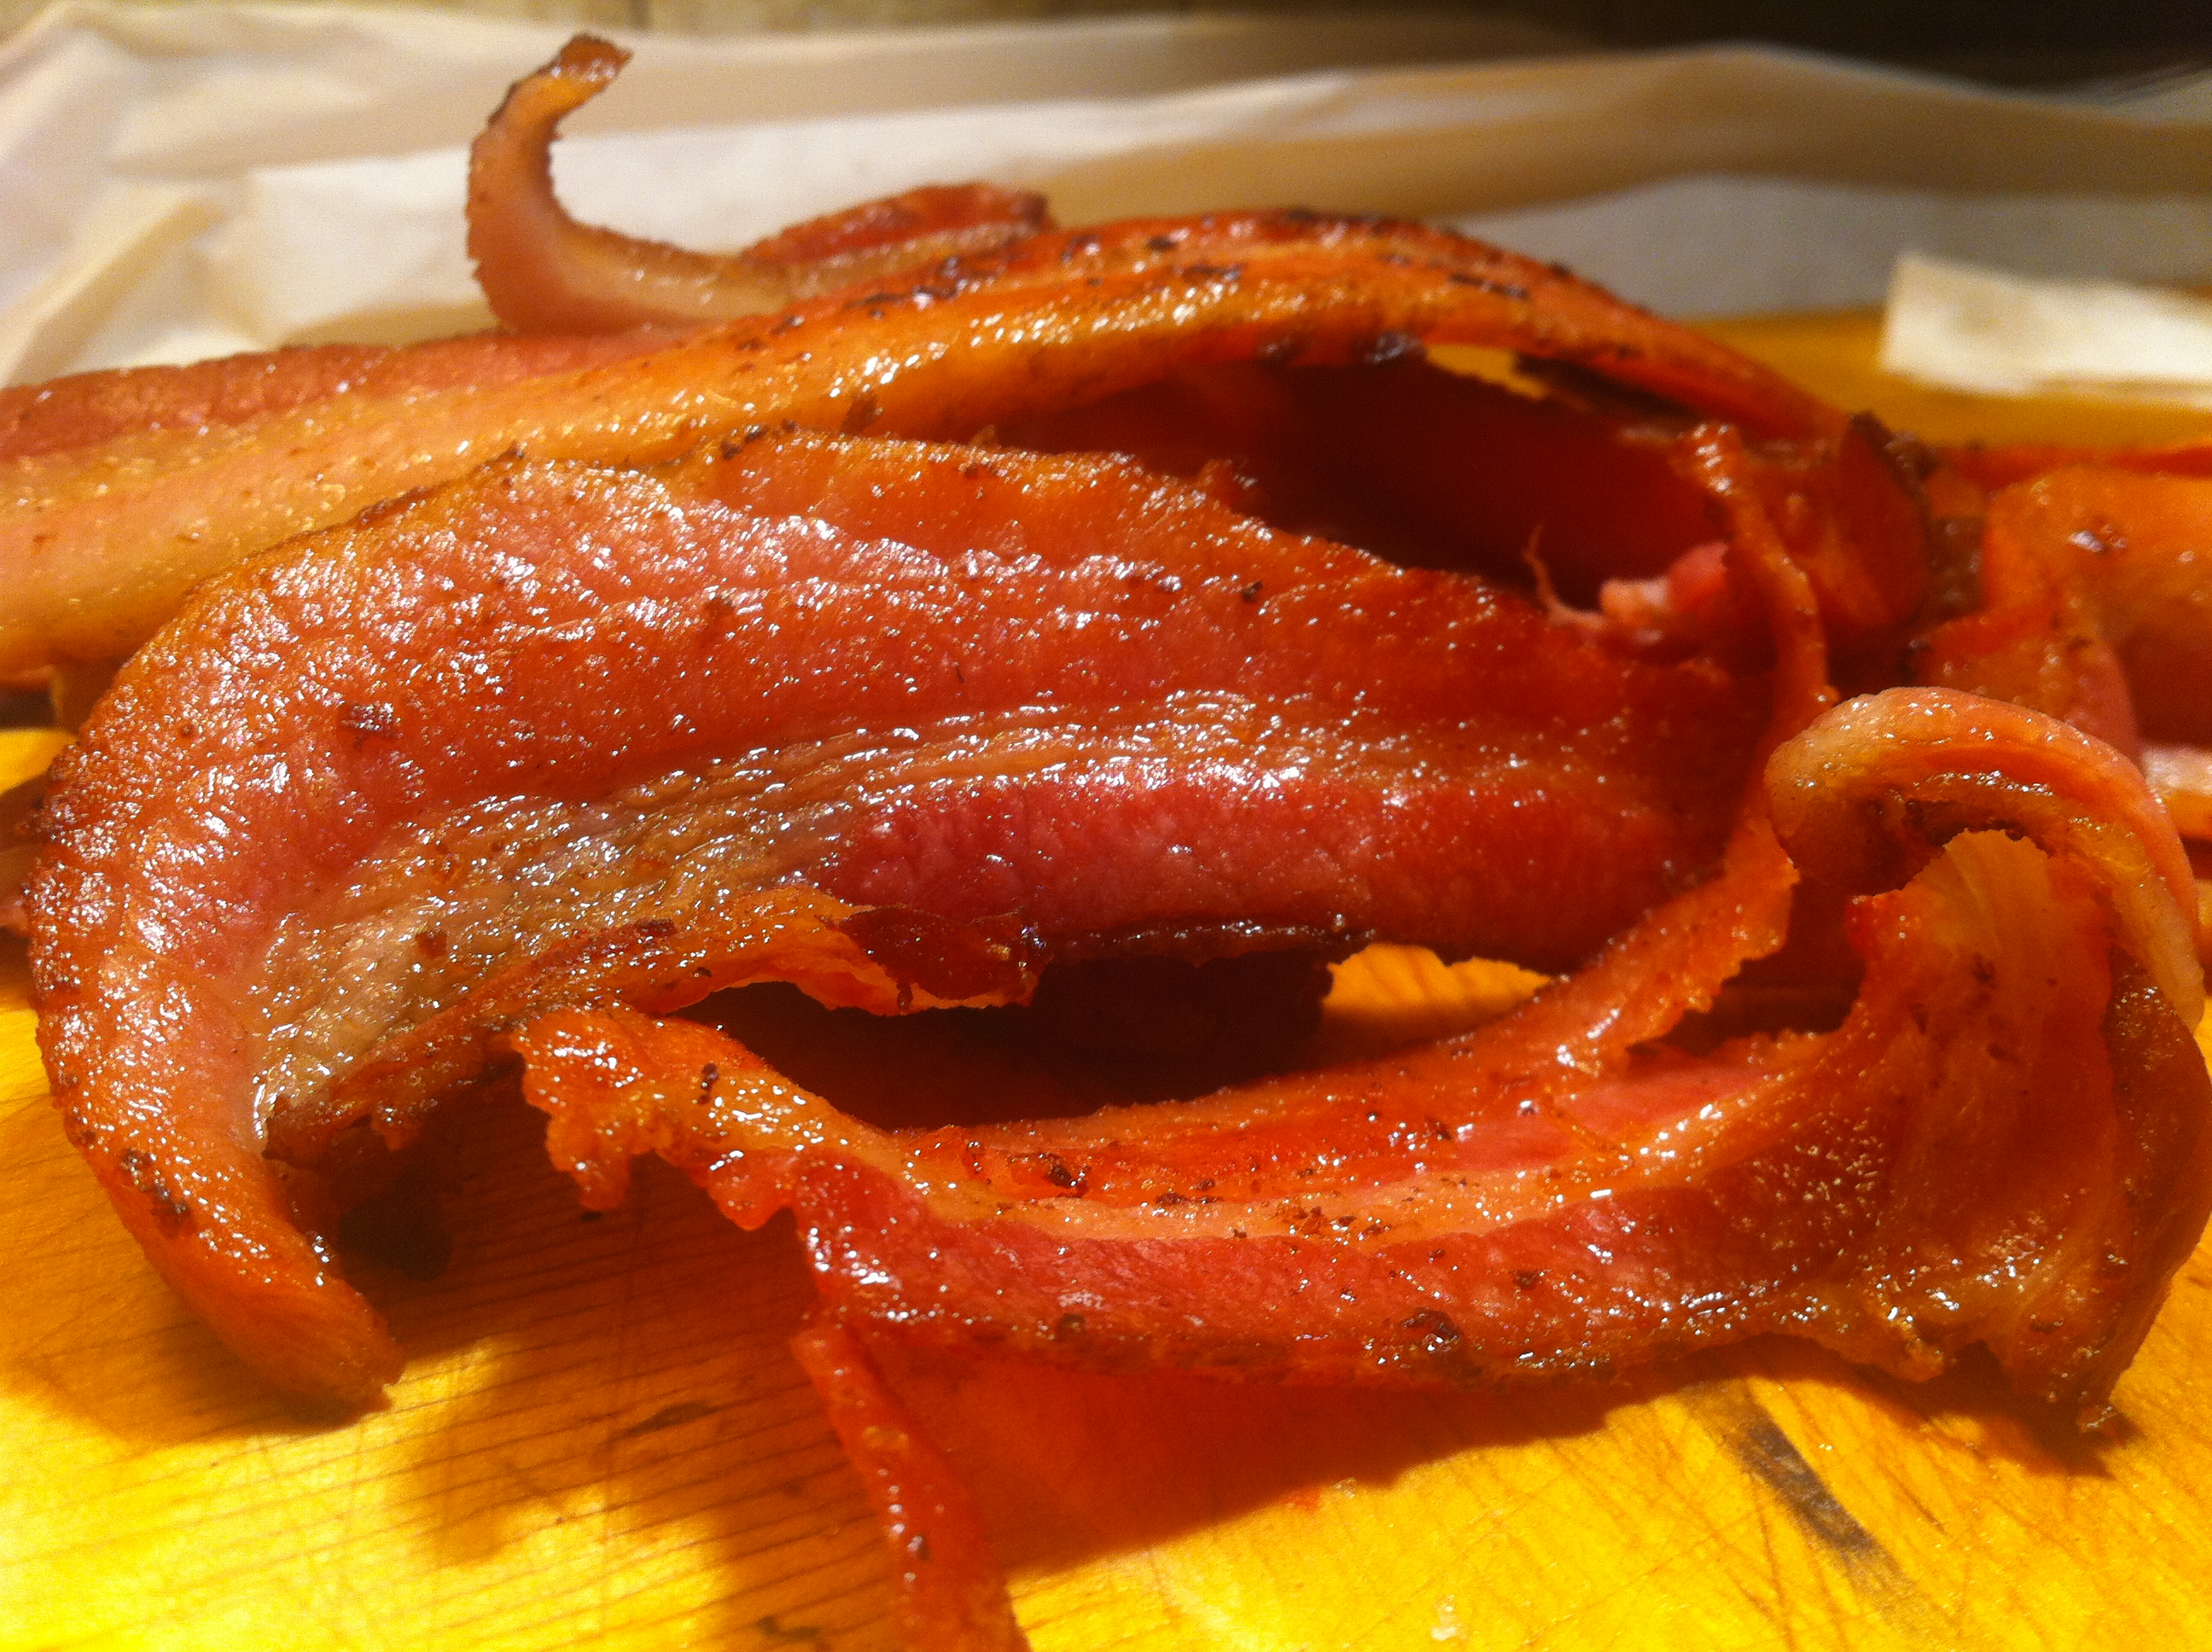
The Results:
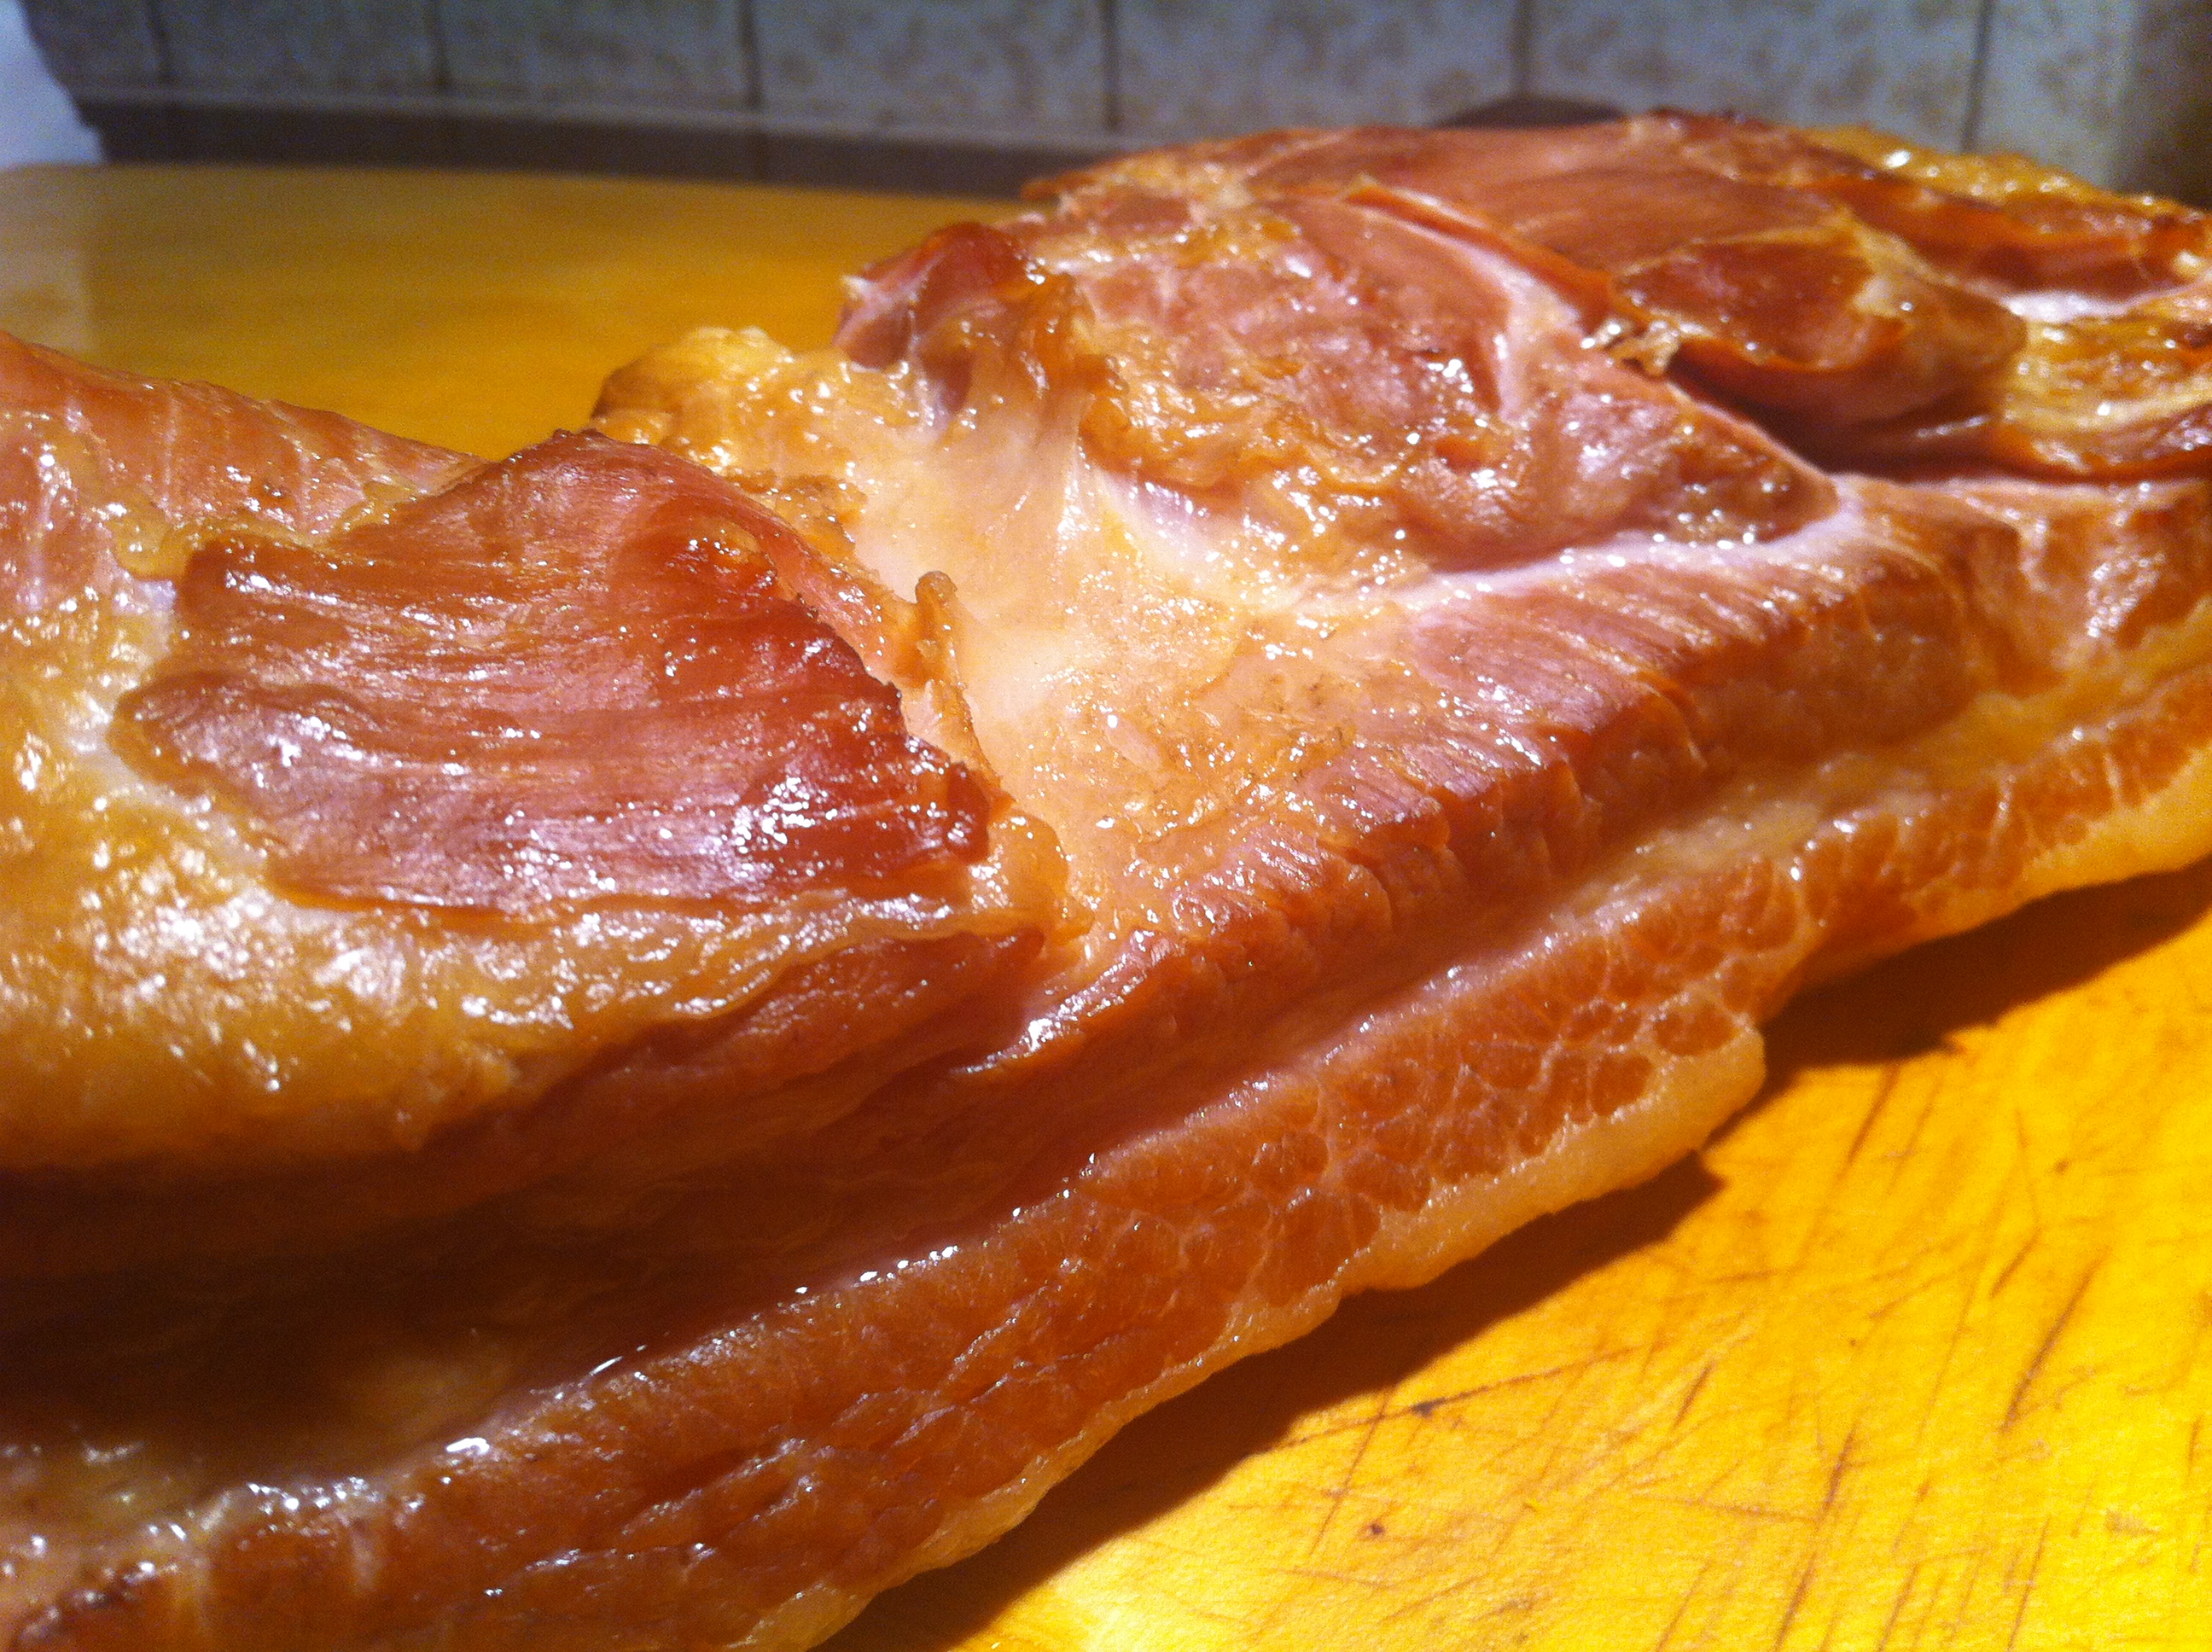
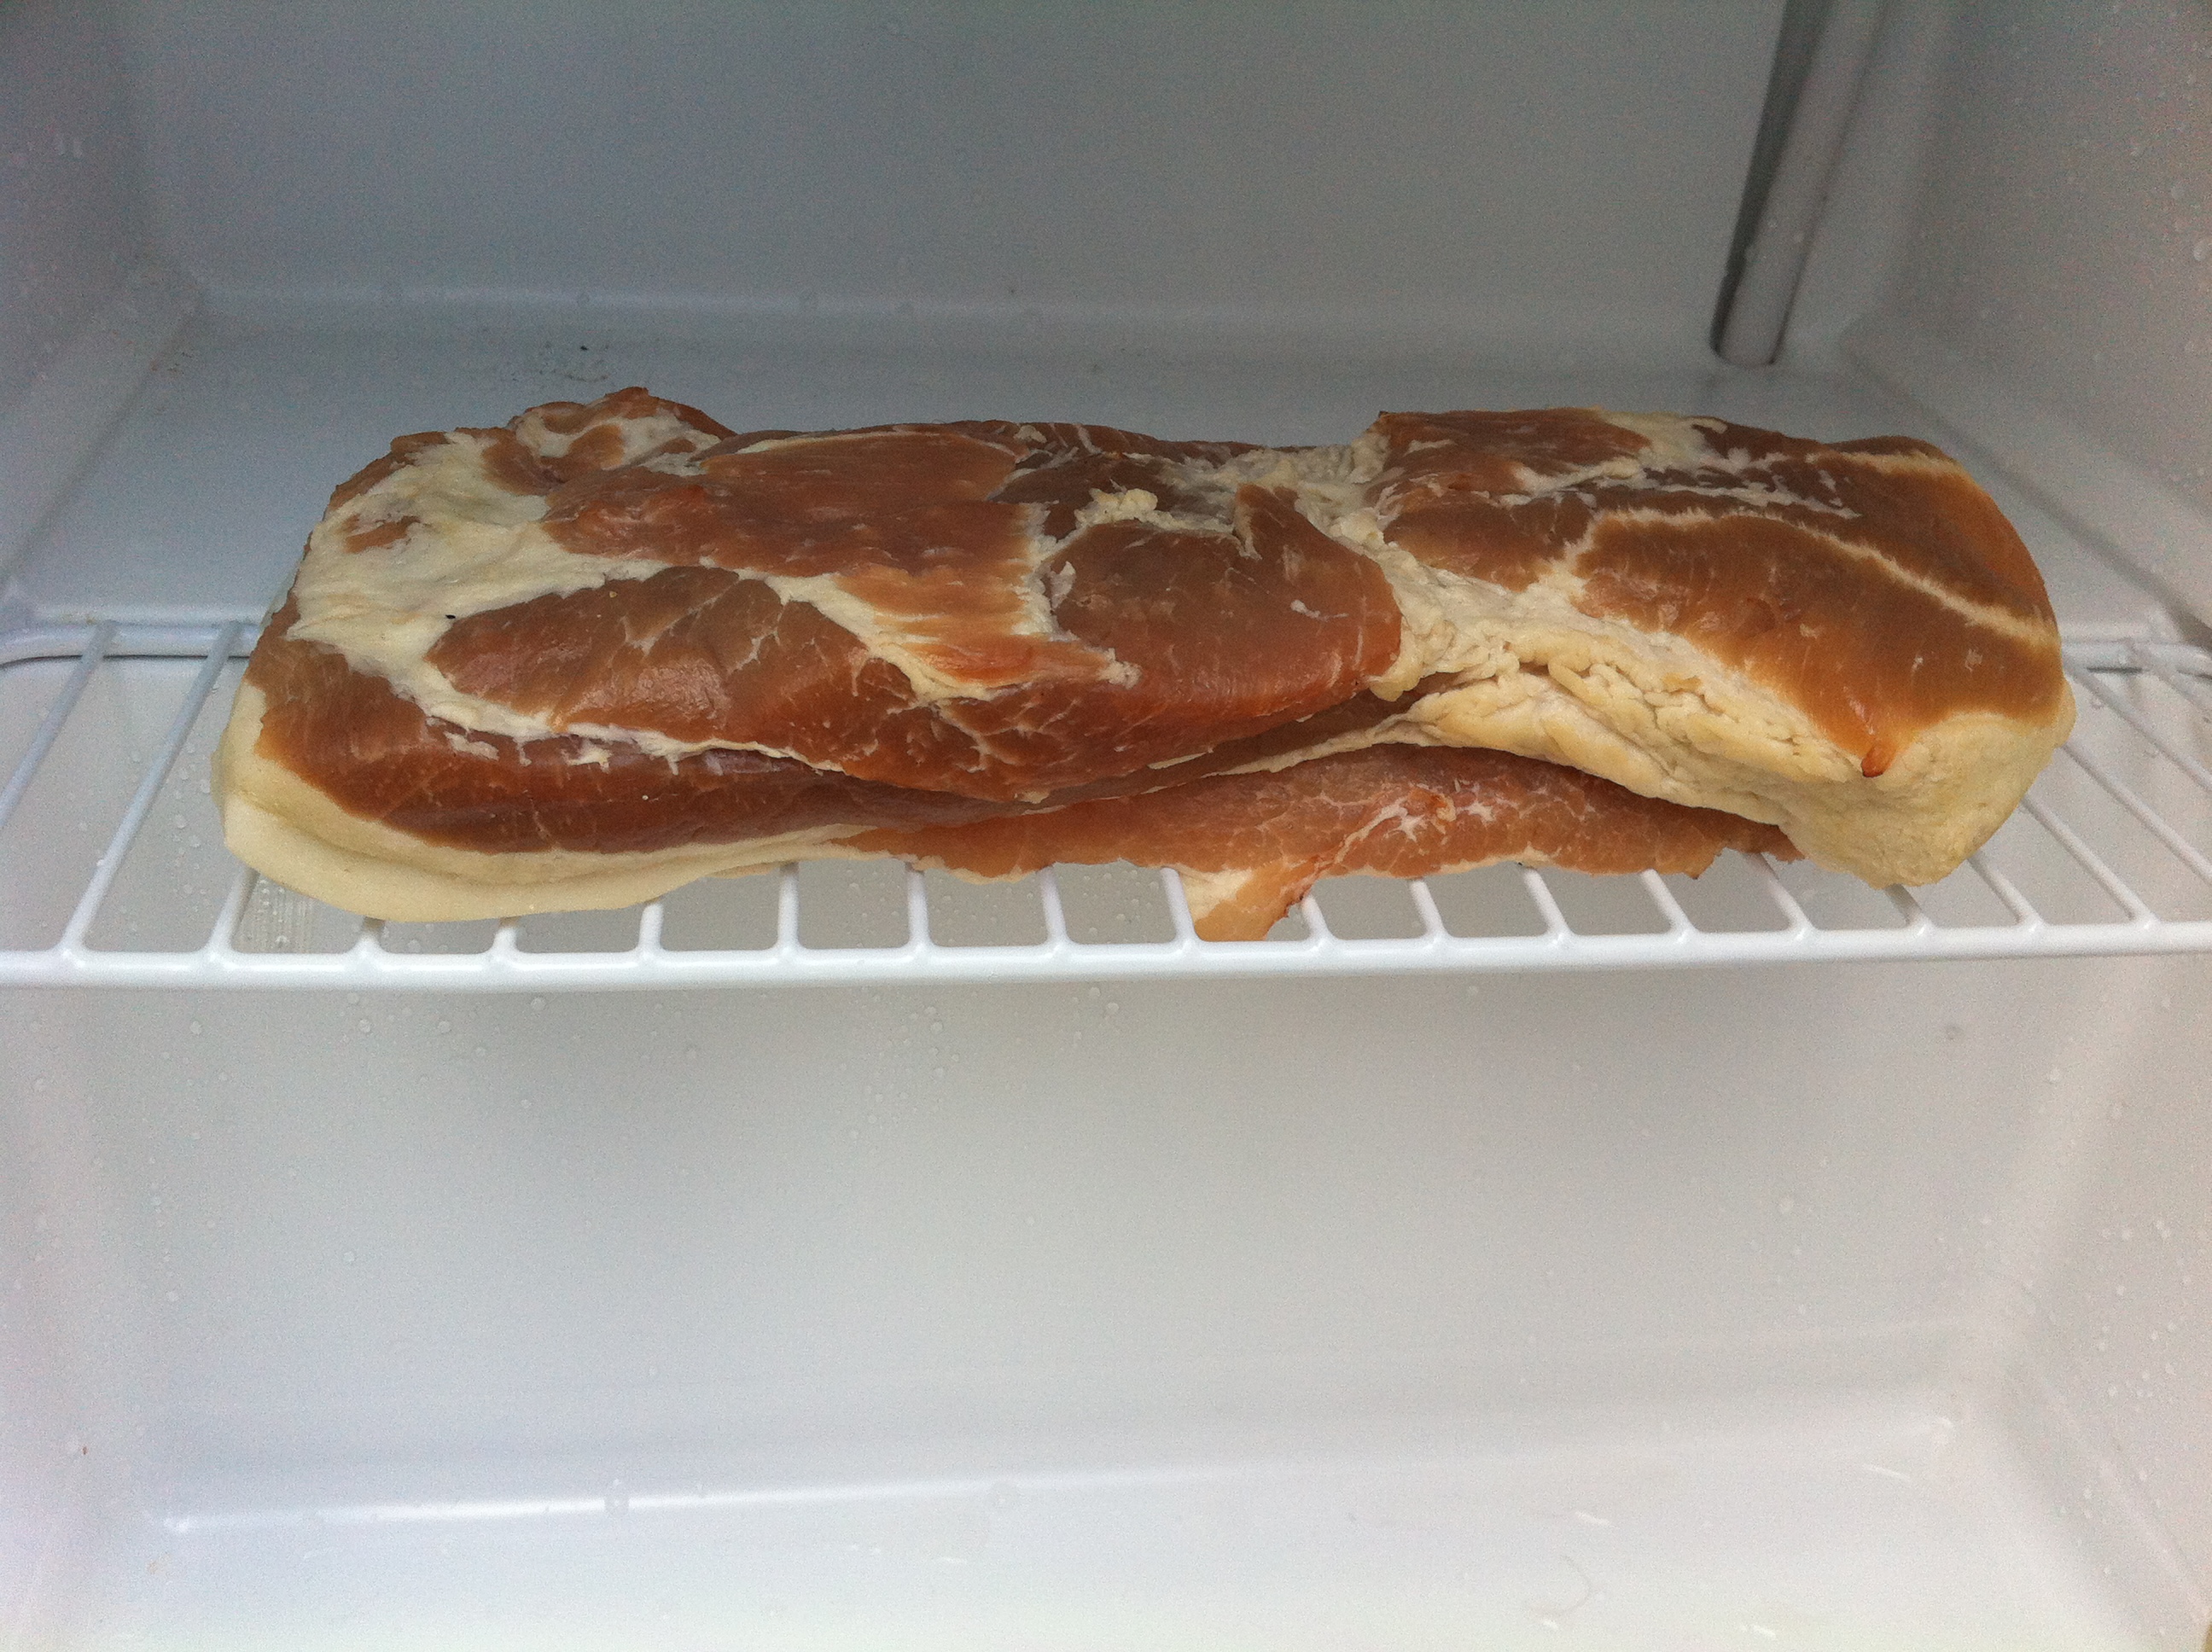
This bacon was awesome. Even though we deviated from the original plan (to cold smoke for about twelve hours and not use the oven) this bacon turned out better than I expected. I cut myself a slice and prepared myself for bacon-making failure; not the case. I wish you could scrach-n-sniff this picture because the smokey aroma that filled the house was enticing. The meat had really absorbed a lot of smoke (as evidenced by the golden coloring on the outside), had a wonderful flavor, and was nice and pink on the inside. I would definitely consider this a success. 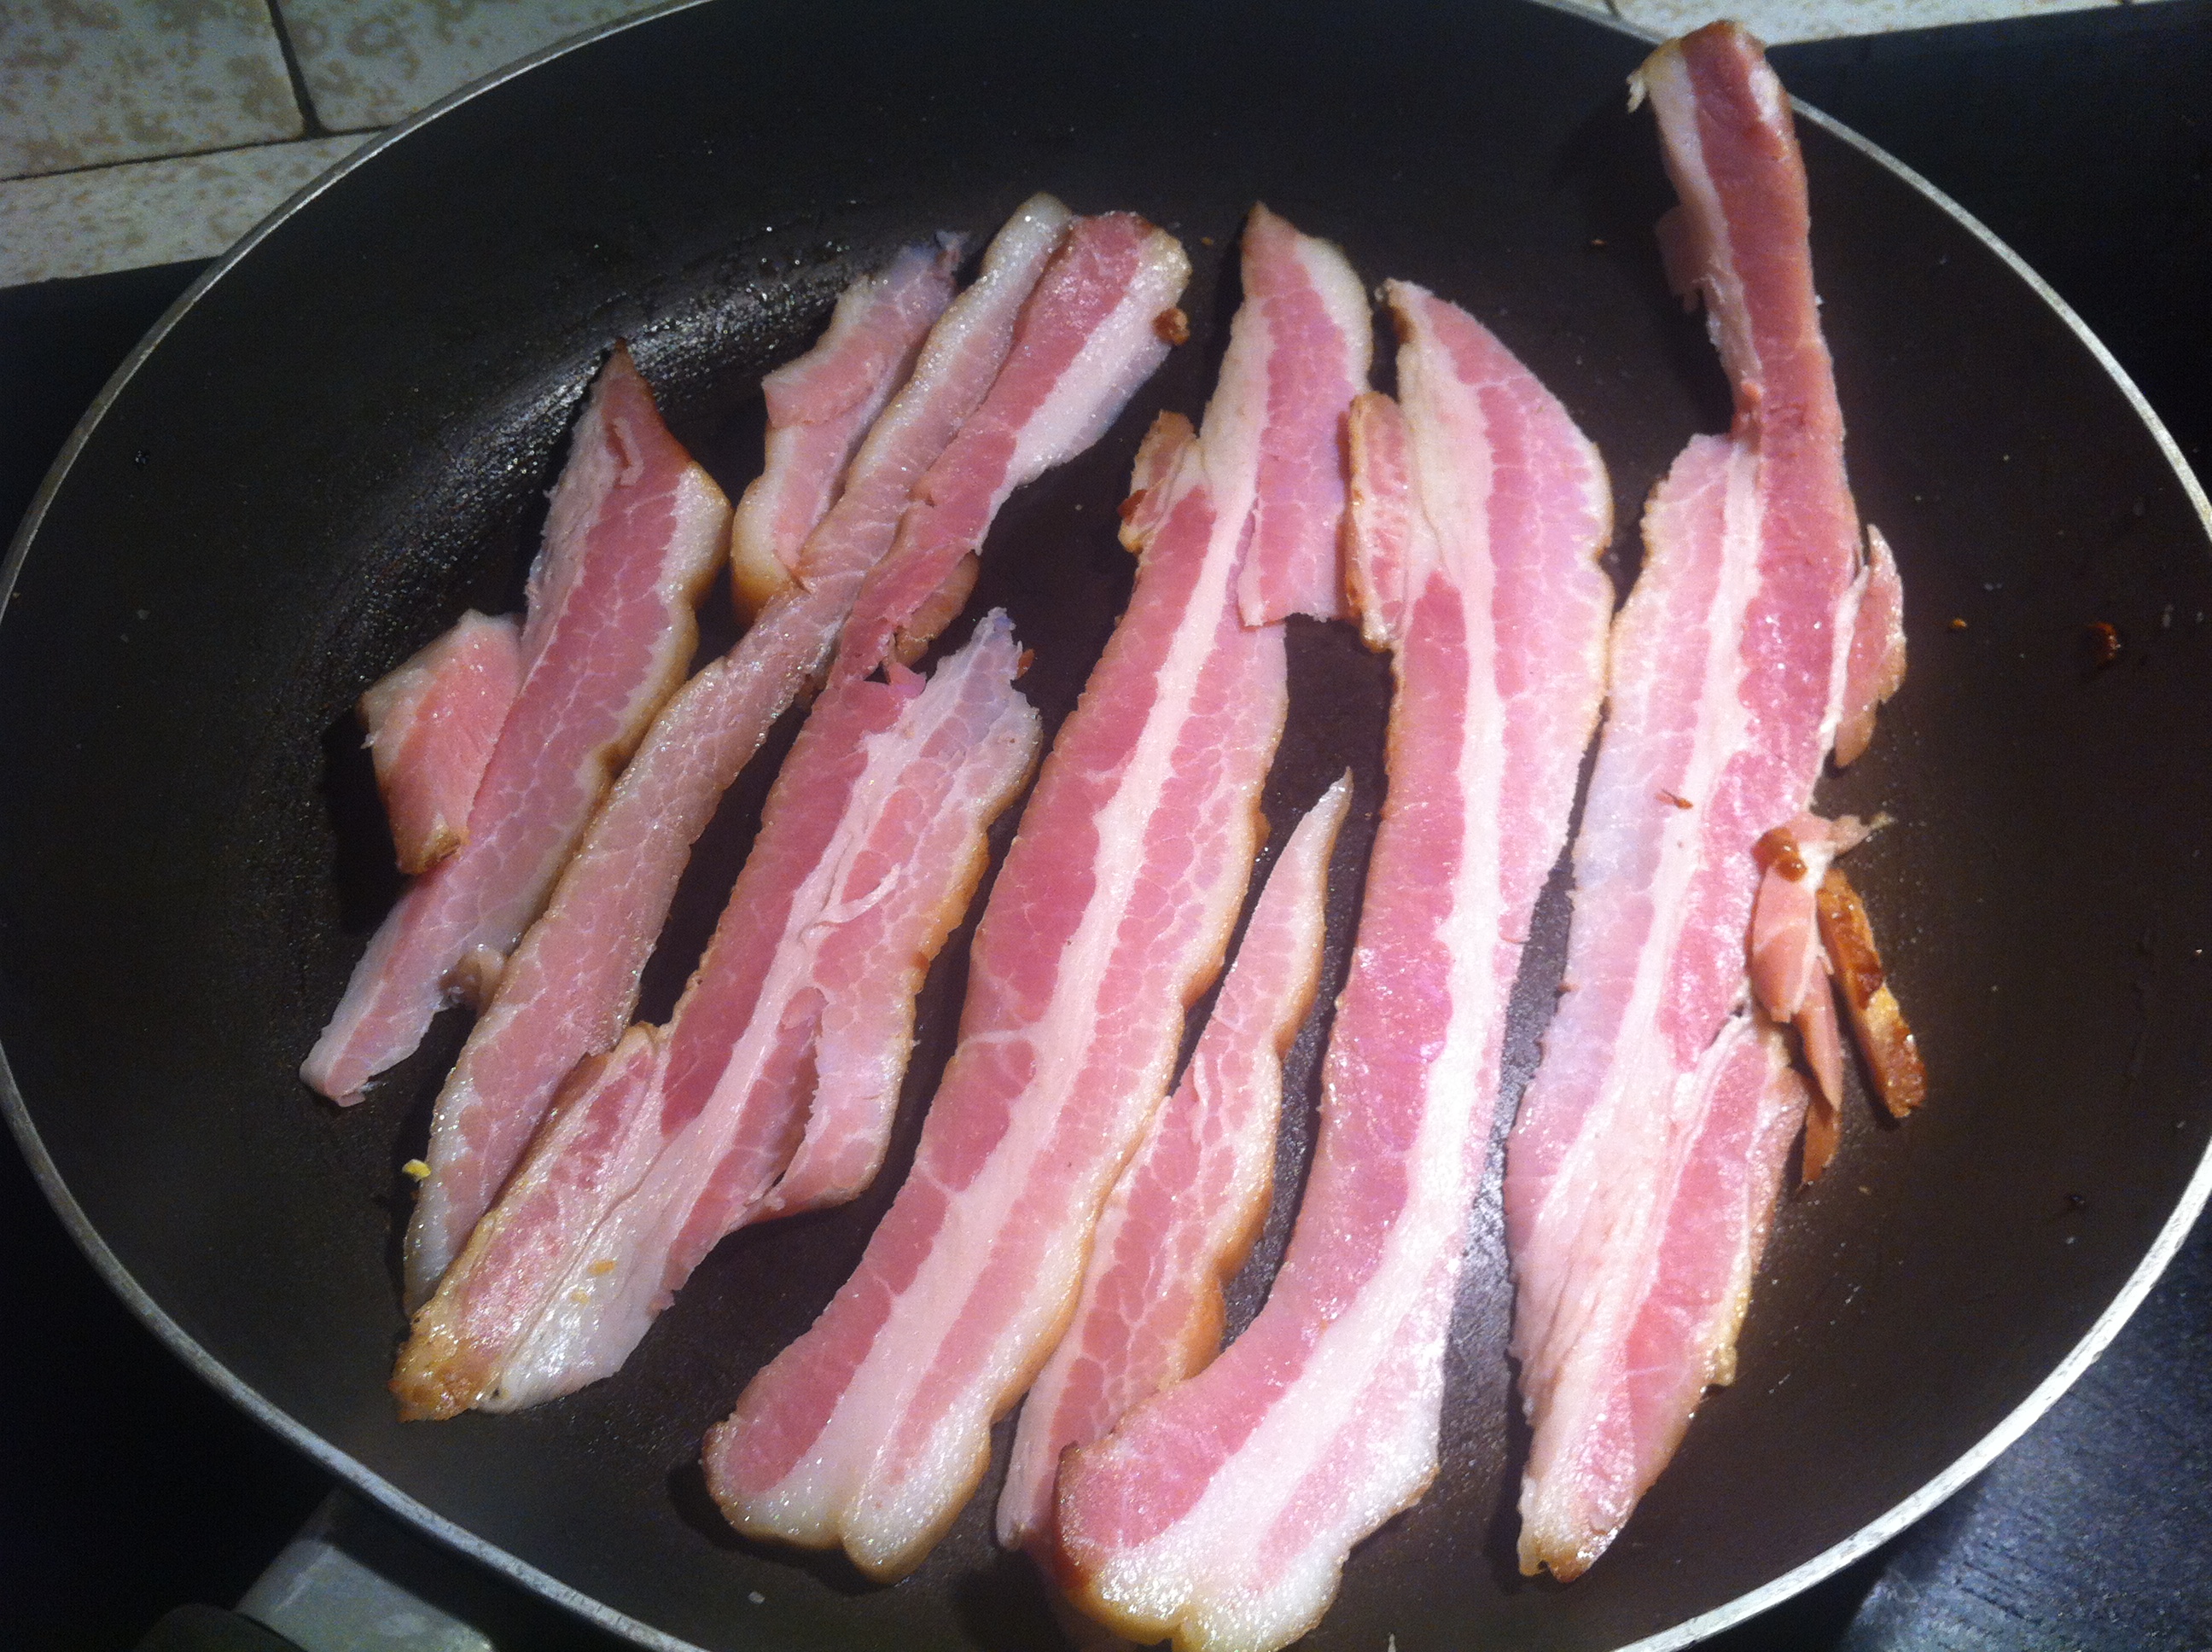
There are a few things I would do differently next time:
1) Using wood chips above the fire seemed unnecessary. We made the fire with hickory wood chunks and it generated enough smoke on its own. Soaking the wood was also a mistake; it produced a lot of moisture.
2) Be prepared for tending a fire for an all day cold-smoking process.
If it weren’t for all the moisture on the meat, it wouldn’t have needed to be finished off in the oven. Although this is a perfectly acceptable way of going about making bacon, the cooked bacon has a taste close to that of ham. Next time I want to just cold smoke the meat without cooking it and see if it has less of a ham-y taste.
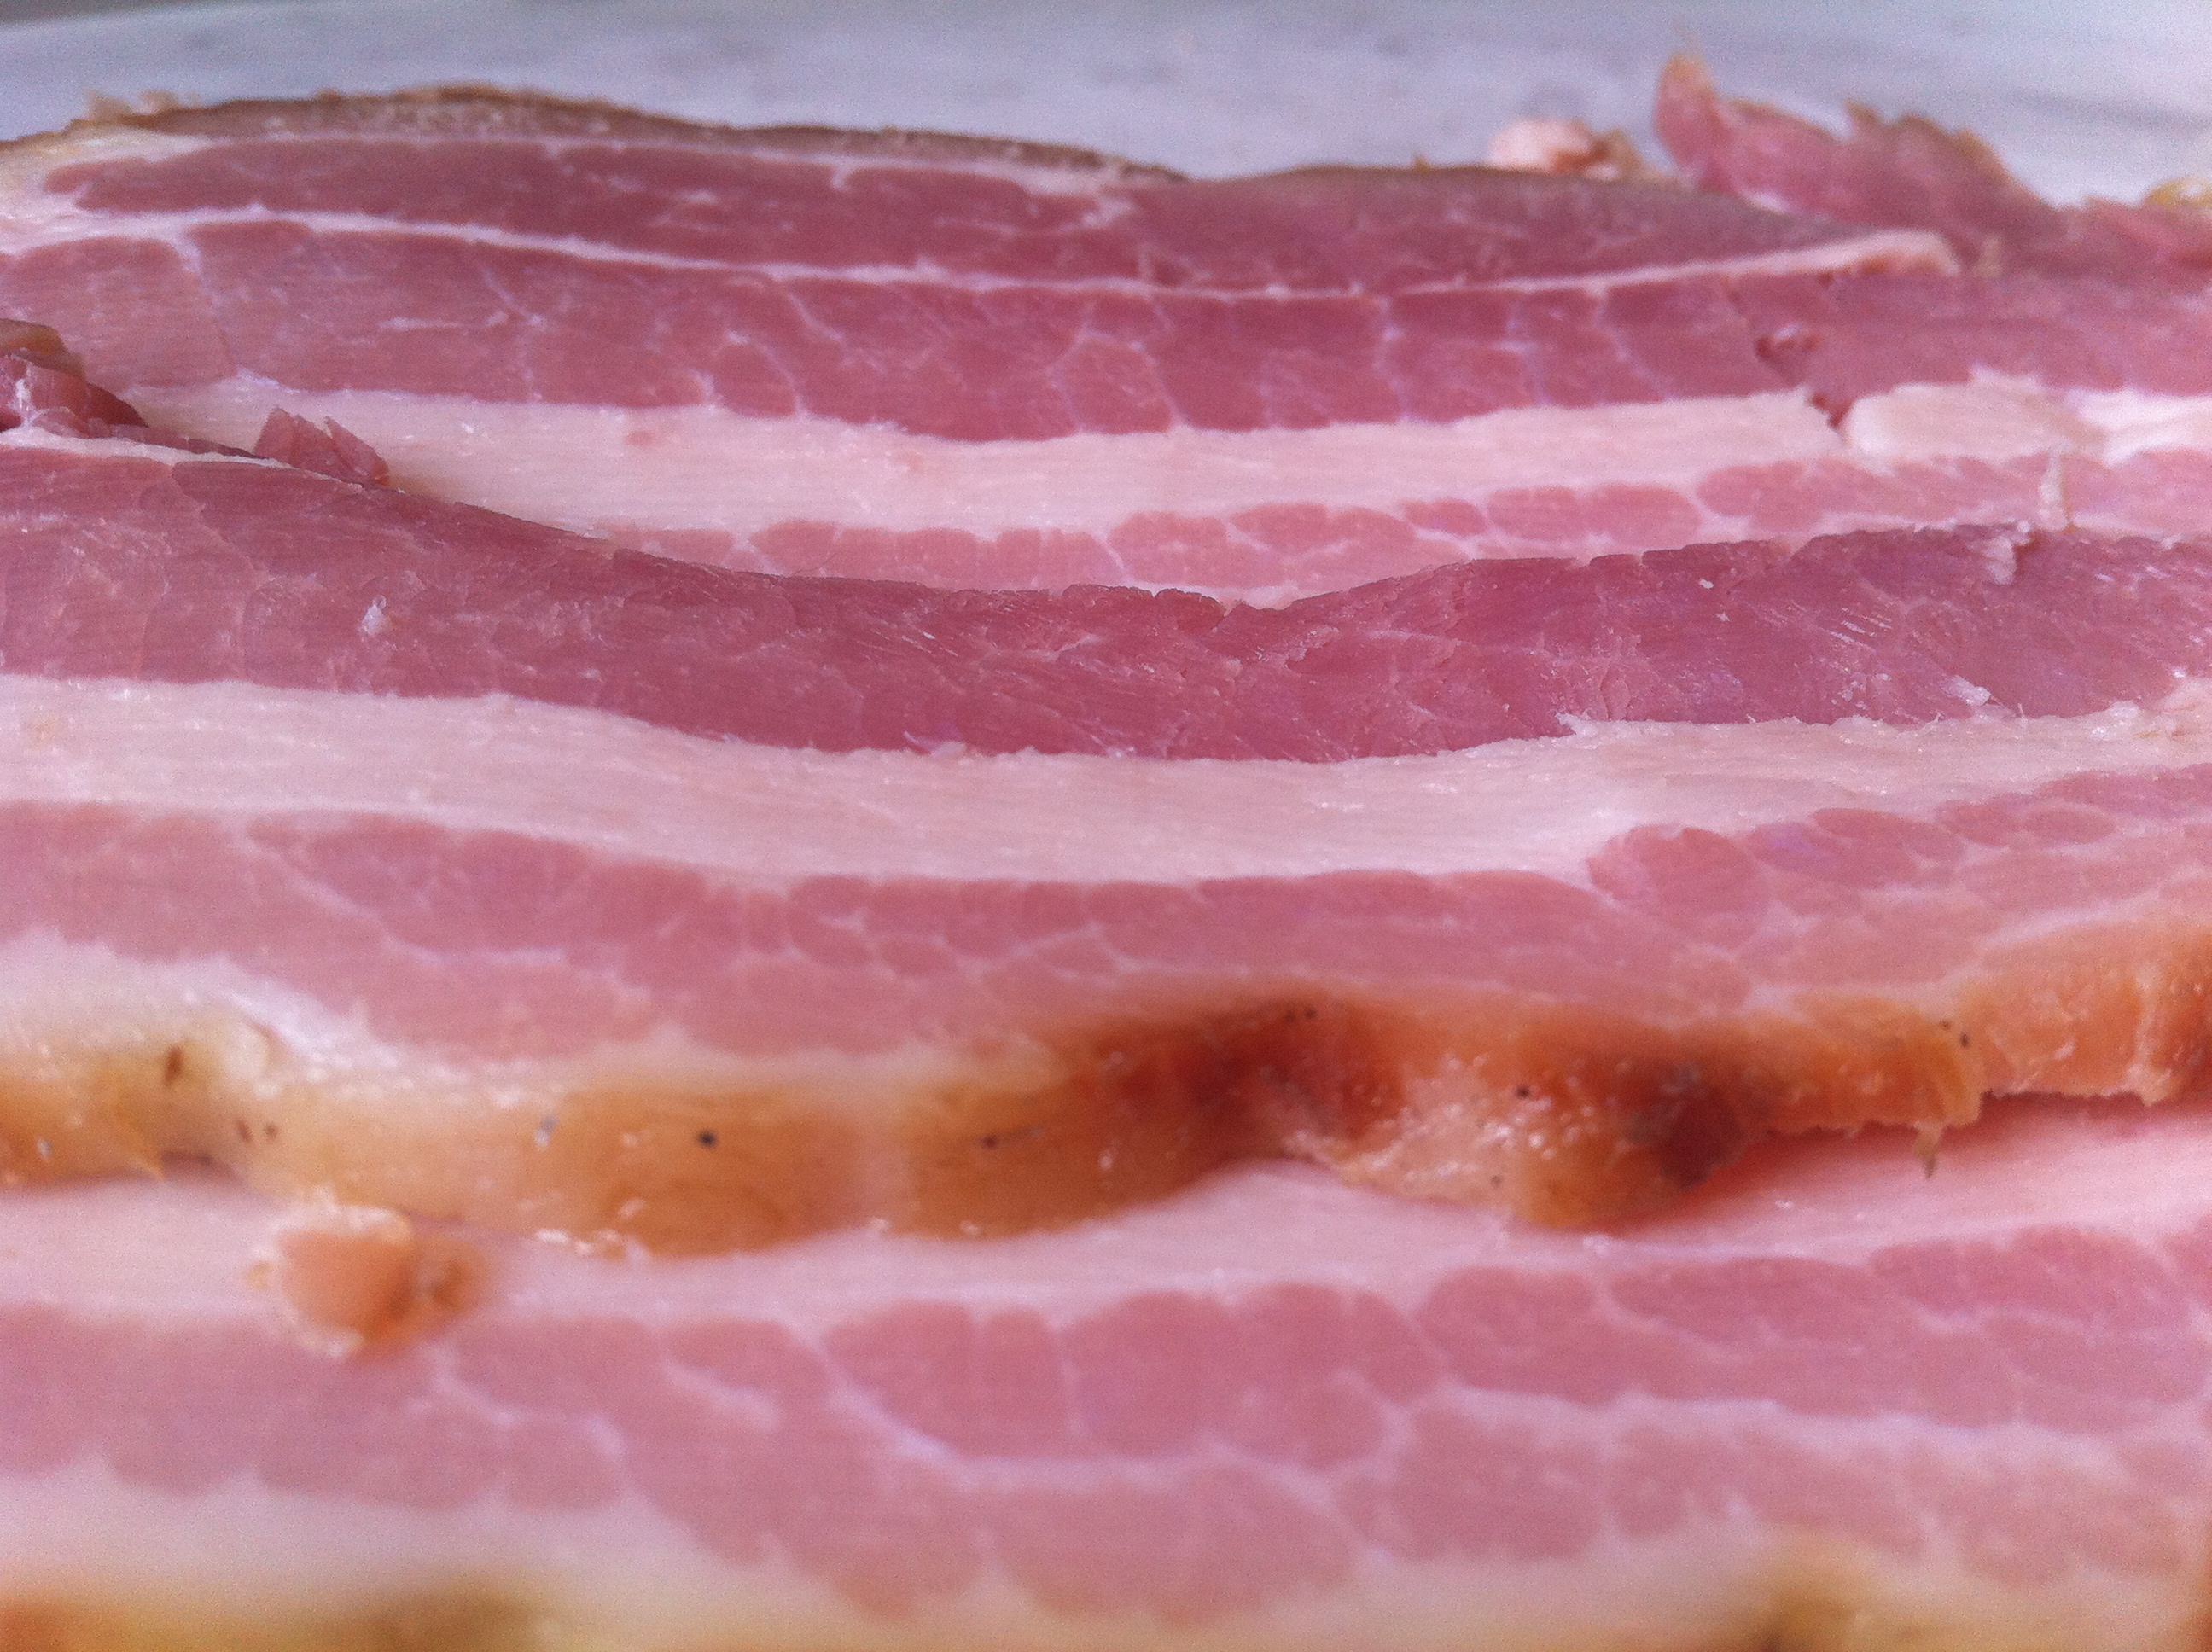
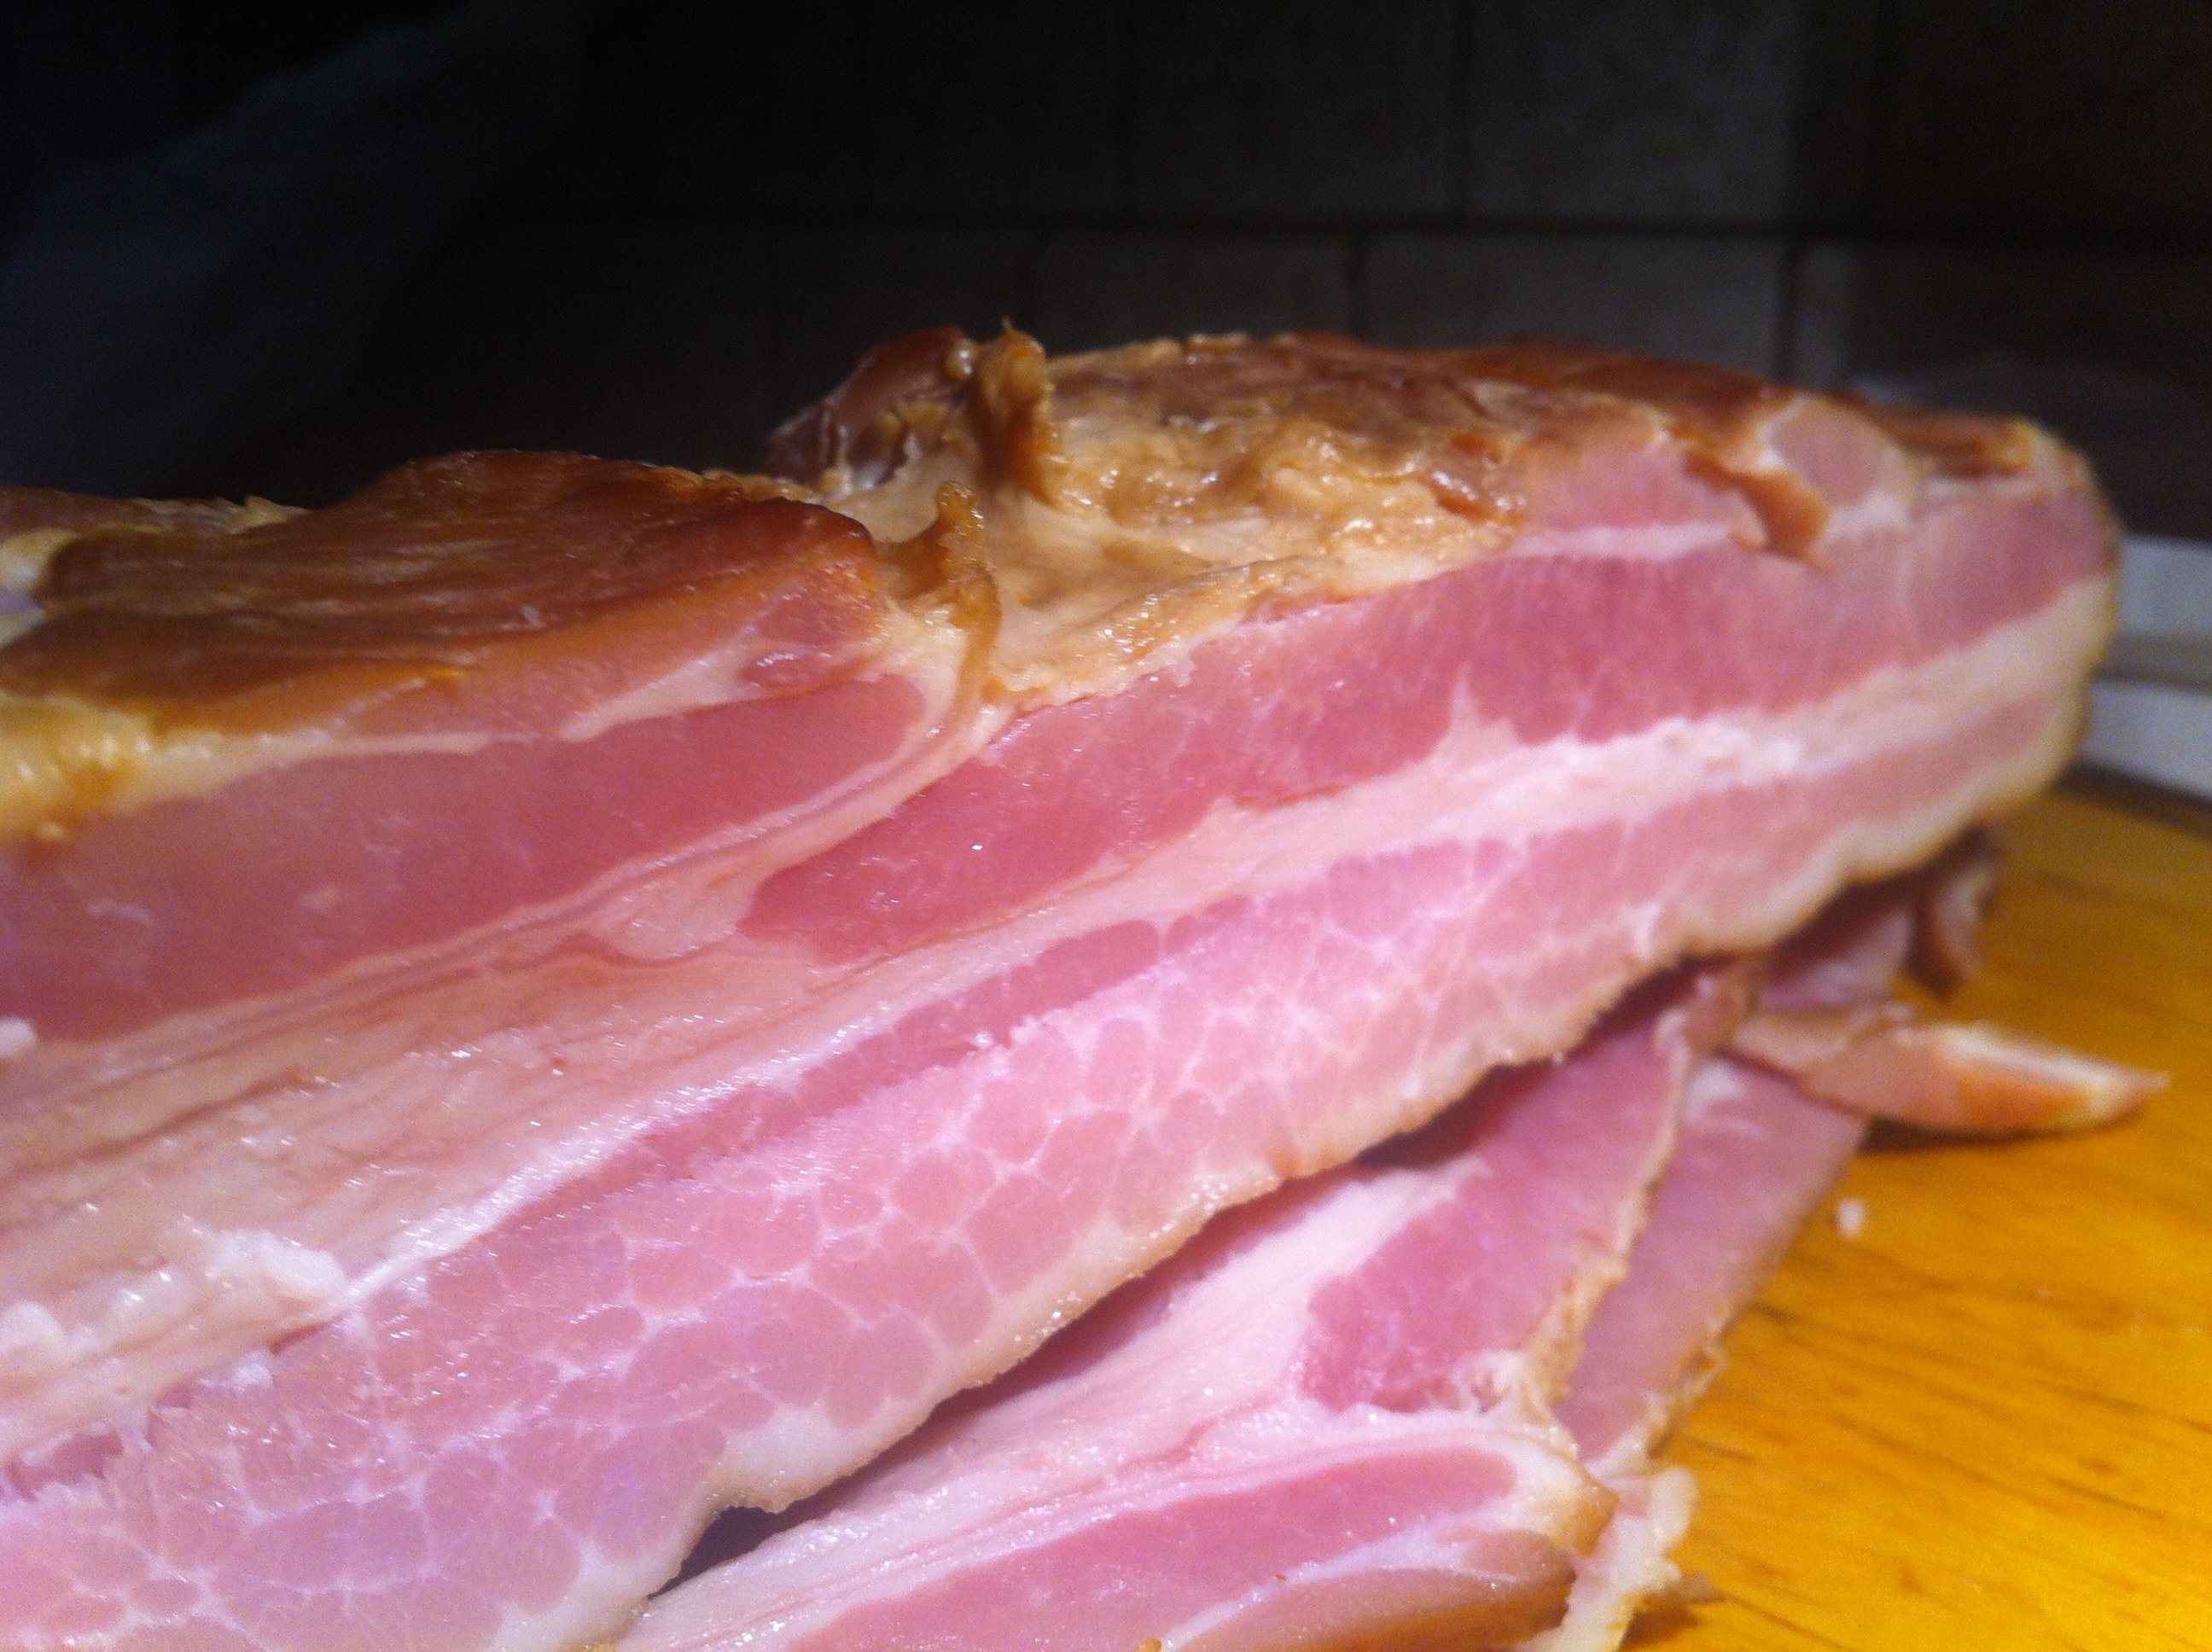
Overall, I was thrilled with how well this first bacon experiment went. Despite a few criticisms, this was some of the best bacon I’ve ever had. I was able to get thin, even slices by partially freezing the bacon and slicing it on a mandolin.

Well there you have it folks, our first round of homemade bacon. We’ll definitely be making more, so stay tuned. If you have questions about building a cold-smoker we’d be glad to help you out. You can shoot us an email at askthebutcher@steaksandchops.net
One thought on “Makin’ Bacon – Round 1”
fabulous!
Comments are closed.